Showing posts with label colouring. Show all posts

Monday, 25 June 2012

Woven Ribbon Cardfront - I love ribbon!

As you may have gathered from the name of this blog, I really love ribbon.  If you read my last post (or click here) you know I was lucky enough to be asked to write a tutorial based on this original card.  Of course, to do a tutorial I had to make a new card and this is what I came up with:


I started with the stamp set  "Relax a Bit" from Marks Finest Papers that I won from a Speedy Fox challenge a few weeks back.  I love this stamp set!  I collect teapots so it was the perfect addition to my stamp collection.  I thought that the Authentique 6x6 Gathering collection would go well with this set.  Once I decided on patterns I chose ribbons and card stock to coordinate. 

I cut, scored, and die cut all of the basic pieces, then heat embossed the images I wanted to use on the patterned paper in black.  This is the first time I paper pieced with embossing and I found it really easy to cut everything out as I could almost let the raised image guide my scissors. It also helped me stay in the lines when colouring.  I used my craft knife to cut out the handle of the teapot and the inside of the teabag string.


Once I had all of my elements ready I completed the woven ribbon panel.  I adhered the panel to the card front with Scotch ATG adhesive and glue dots.  Because the ribbon panel is quite heavy it is important to use a strong adhesive.  The die cut piece was foam taped over the top.


I added some faux stitching, adhered the teapot, added some twine, and Prima flowers.  I glued the teabag to the Prima flowers, and foam taped the sentiment at the bottom.  This card took some time to make, but I think it was worth it!


 Since the front had so much going on I kept the inside simple with just a stamped verse.  I love this quote!  This would be a great card for a pick-me-up.


Again, I made this card because Debbie from Friends of Speedy TV asked me to write this tutorial for them.  If  you haven't already, take some time to visit Friends of Speedy TV.  They have a great tutorial section among other fun things.  You won't regret you did!  :)

I used the following  supplies:

Cardstock:  Gina K Pure Luxury 120# Pure Ivory, Stampin' Up!  Very Vanilla.

Stamps:  Mark's Finest Papers Relax a Bit.

Ink:  Versamark Watermark Ink, Stampin' Up! Black Embossing Powder, Memento Tuxedo Black.

Markers:  Bic Mark Its Sunset Orange, Hot Aqua.  Black felt tip marker.

Ribbon:  American Crafts Premium Satin Ribbon.

Embellishments:  Prima Flowers Mellise Nature Garden,  Stampin' Up!  Basic Jewels Rhinestones.

Adhesive:  Scotch ATG, Stampin' Up|!  Sticky Strip, Zots, Quickie Glue Pen, foam squares.

Tools:  Paper trimmer, bone folder, scissors, Cuttlebug, Spellbinders Nestabilities Standard Circles Small, heat tool, Fiskars craft knife.


I am entering this card into the following challenges:
  1. Pause Dream Enjoy - #22 Use your favourite quote or verse.
  2. Papertake Weekly - Bingo! (Ribbon/ Free (Gems)/ Blooms)
  3. Allsorts - Any die will do
  4. Pile it On - Make your own embellishments
  5. Friends of Speedy TV Tutorial Time - Heat Embossing

Sparkly Butterflies - Craft Your Passion Challenge #116

So here it is, my fourth and final week as guest designer at Craft Your Passion Challenges.  I've really enjoyed this opportunity, and I'm so thankful to Craft Your Passion for having me!

This week the challenge is Things with Wings, and is being sponsored by Stitchy Bear Digital Stamps.  I got to chose a digital image to work with, and I love this Floppy Latte Design called Butterflies in the Grass.


Once my image was chosen I had the idea to use three colours of washi tape.  I decided on which colours I wanted to use, I thought three bright colours would be pretty and summery.  I printed the image on cream cardstock, heat set the image, and coloured it to match the shades of tape. I corner rounded the image and inked the edges with green.

I chose a cream cardstock base, and kraft to layer  After corner rounding the bottom of both pieces, I added green ink to both the card base and the layering piece.  At this point I adhered strips of tape, using two strips of each colour, layering them slightly when pressing them down. I made sure that when tearing the ends they were jagged for a bit of interest.

Matching shades of satin ribbon was layered over the washi tape and knotted.  This was a cheater knot, as I cut the longer piece just long enough to zot each end to the back, then tied a separate smaller piece to make the knot.  I like doing it this way because you save ribbon, and it is much easier to get the knot to lie the way you want it to.  I secured the knot in place with a Zot.

Once the ribbon was adhered I foam taped the image in place.  I added Sakura glitter pen to the lighter areas of the butterflies, and also outlined each butterfly.  I decided that this wasn't enough though, and finished the image off with some rhinestones.

I decided to make this a thank you card so inside I added some strips of tape, and a small corner rounded piece of kraft with the sentiment stamped on it in black.  I added a few more rhinestones to finish it off.

I used the following products:

Cardstock:  Stampin' Up! Very Vanilla, Crumb Cake.  Gina K Designs Pure Luxury 120# Pure Ivory.

Stamps:  Stitchy Bear Butterflies In the Grass.  Stampin' Up! Kindness Matters.

Markers:  Stampin' Up!  Stampin' Write Markers Certainly Celery, Orchid Opulence, Bashful Bue, not Quite Navy, Rose Red, Summer Sun, Regal Rose.  Sakura Gelly Roll Clear Stardust.

Ink:  Color Box Fluid Chalk Ink Olive Pastel.  Memories Black.

Embellishments:  My Minds Eye Indie Chic Paper Tape, American Crafts Statin Ribbon, Stampin' Up! Basic Jewels Rhinestones.

Adhesives:  Tombow Mono Permanent Adhesive Runner, Zots, foam squares.

Other Tools:  Paper trimmer, scissors, bone folder,  We R Memory Keepers Corner Chomper, artist sponge.


I'm entering into the following challenges:
  1. Deep Ocean - Welcome Summer
  2. Creative Card Crew - Easy as 1, 2, 3 - 1 image, 2 butterflies, 3 ribbons and washi tapes 
  3. Ladybug Crafts Ink - Double Trouble 
  4. Charisma Cardz - Summer

Monday, 4 June 2012

'Bee' Happy - Craft Your Passion Challenge #113

I'm so exited - this is my first post for Craft Your Passion as a Guest Design Team member for June!

For this week, the challenge was to use chevrons.  An Inspiration photo was also provided:


Very pretty!  And how lucky I was that I have the perfect washi tape for such a project - from My Minds Eye Indie Chic collection.  Here is what I came up with:


Once I decided on the pattern, I had to decide on an image.  Since I got to choose from images provided by the sponsor of this week's challenge Delicious Doodles the most difficult part was just picking one (I have never been known to be a decisive person).  After some consideration I chose "Bee and Flower".  So cute!

I started with some kraft cardstock cut and scored to a standard A2 size. After corner rounding the bottom corners I added my tissue tape vertically strip by strip, matching the pattern as I went along, kind of like you would match up wall paper.  I left the bottom of each strip jagged and uneven as I thought this would allow for some interest.  For the same reason I lifted the strips on either end and tore them lengthwise before replacing them in their alloted spaces.  To add contrast I placed two strips of yellow tape with polka dots horizontally about a third of the way from the bottom.  Since the tape is semi-transparent you can still see a bit of the chevron through the yellow. I really like the effect.

Since this was my first card for Craft Your Passion I wanted to do something a little different and special, so I pulled some Stampin' Up! transparencies from my stash.  I've been hoarding these sheets forever but I thought they would be fun here, particularly the one with foliage on it.  To hide the adhesive I first attached the sheet to the card with Zots placed at either end of the yellow tape, since I knew I  would be putting ribbon or twine over that spot.  After the rest of the elements were added I carefully lifted the transparency and added more Zots under each so that the sheet was more secure.


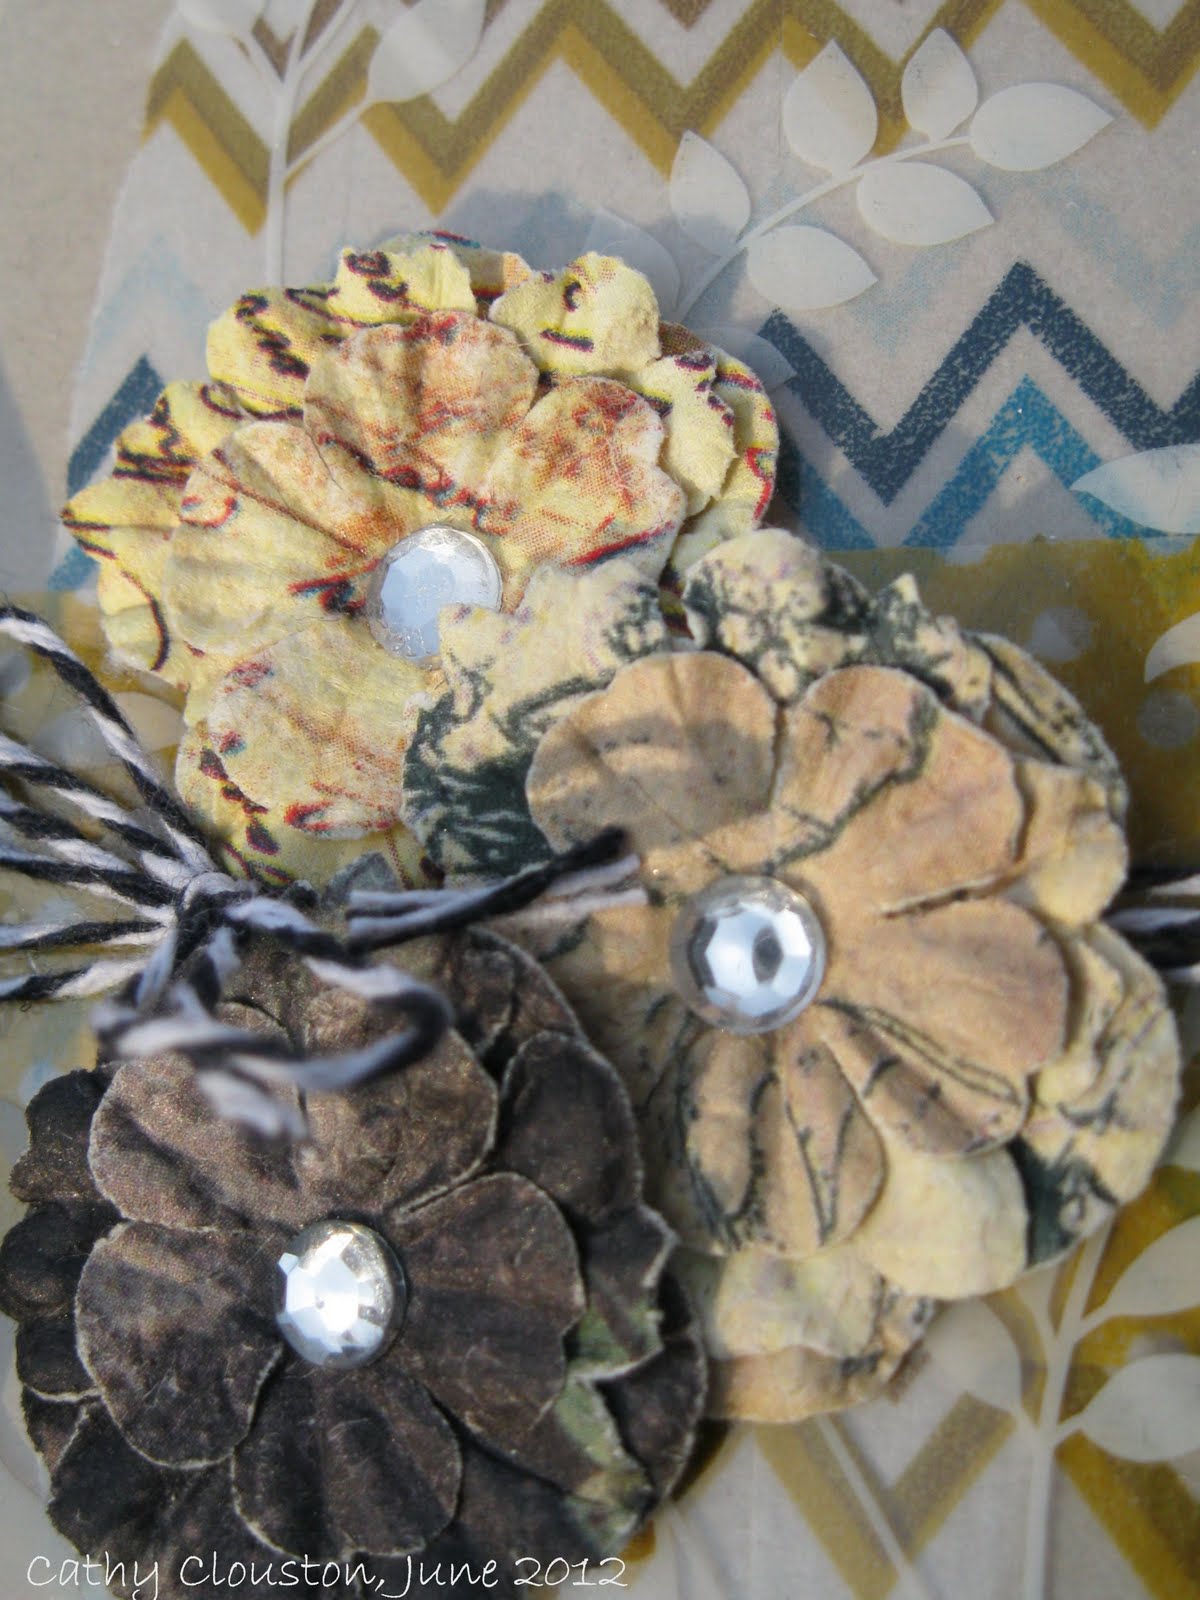
I added some baker's twine and placed some Prima flowers over the foliage.  I heat embossed the sentiment on a banner cut strip of kraft and  corner rounded the opposite end.  The sentiment was adhered with foam squares.  Once this was done it was time to work with my image.


I was slightly nervous about this part as I have rarely worked with digi images, but I'm all for learning new things so I googled some instructions and got to work.  I printed the image on 120# cardstock and heat set it to minimize smudging.  I then coloured the image and added some Sakura glitter pen.  My original intention was to only add glitter to the wings, but then I added some to the antennae, then I thought some might look nice around the face, and then before I knew it, all of the black was covered in glitter.  Thats ok, I like glitter!  Once my image was finished I cut it out with some detail scissors and placed on my card with foam squares.


On the inside of the card I heat embossed the matching sentiment and added a touch of glitter pen to the letters.  Since the cardfront is fairly busy (like a bee maybe, lol) I decided that further decoration wasn't necessary.


This was a really fun card to make.  I love the combination of the chevrons with the flowers and the bakers twine, and I love the shine of the transparency, and the leaves under the flowers.  Best of all, I really love the little bee - she's so cute!  I think it is fair to say that I am over my fear of digi images - I foresee more projects with them in the future!  :)


I used the following products:

Cardstock:  Stampin' Up!  Crumb Cake.  Gina K Designs Pure Luxury 120# Pure White.

Stamps: Delicious Doodles Bee and Flower (digi), Stampin' Up! Petite Pairs.

Ink:  Versamark Watermark Ink, Martha Stewart Bright White Embossing Powder.

Markers:  Bic Mark Its Fandango Pink, Sunset Orange, Pink Flamingo Peach Parfait, Yellow Blaze, Forest Green.  Copic W5, W3.

Embellishments:  My Minds Eye Indie Chic Paper Tape, Prima Flowers Mellisse Nature Garden, We R Memory Keepers Sew Easy Bakers Twine Blueberry, Sakura Gelly Roll Clear Stardust. Stampin' Up! Clearly Thanks printed window sheets.

Adhesive:  Zots, Foam Squares.

Other tools:  Paper Trimmer, scissors, bone folder We R Memory Keeper Corner Chomper.


I am also entering the following challenges:
  1. The Paper Shelter - Vintage or shabby chic
  2. Charisma Cardz - Bling
  3. Simon Says Stamp - Anything Goes


Sunday, 27 May 2012

Welcome baby! Boy or Girl?

I've been saving this post for a while.  I made these cards for my best friend's new baby, and since I made them before the baby's arrival I didn't know whether to make pink or blue.  The solution?  Make both!


 I started with a base of cream Gina K 120# cardstock, and since this would be a baby card I decided I wanted to keep everything light and fresh looking.  I decided to layer with some Stampin' Up! Very Vanilla that had been embossed in my Cuttlebug.  The creams from the two companies are a very close match.


Once I chose some pretty pink and blue satins, and some lovely Prima ribbons to coordinate I decided to stamp my image and sentiment with dark brown ink.  The little ducks were coloured with coordinating markers. The focal image and sentiment was punched with a square label shape and foam taped over the knotted ribbon.


At this point I figured the card was finished, but as I looked at it I felt it needed more.  I had just gotten a package of pearls with my latest Stampin' Up! order so I decided to use them here.  To mimic  bubbles I decided to use various sizes and place them as if they were floating over the card.  I love these pearls!


I kept things simple on the inside with just a simple sentiment and another duck image, this time not coloured in. 

I love how this turned out.  Wondering which one I gave to my friend?  Pink!  As per usual my prediction was wrong, but thats OK because the baby is beautiful!!  :)


I would like to enter these cards in the following challenges:
  1. Fussy and Fancy Friday - New Baby
  2. Creative Card Crew - Dimension
  3. Ladybug Crafts Ink - Something With Wings
  4. The Paper Shelter - Bling it On
  5. Moving Along with the Times - Celebrate with no birthdays.
  6. Charisma Cardz - No flowers allowed

I used the following supplies:

Cardstock:  Gina K Designs 120# Pure Luxury Pure Ivory, Stampin' Up Very Vanilla.

Stamps:  Stampin' Up! Petite Pairs, Year Round Fun II

Ink:  Stampin' Up! Chocolate Chip.

Markers:  Bic Mark Its Summer Melon, Pink Flamingo, Oceanview Blue.

Ribbon:  Prima Marketing (velvet grosgrain), satin ribbon from my stash.

Pearls:  Stampin' Up! Jewels Basic Pearls.

Adhesive:  Tombow Mono Multi Liquid Glue, foam squares, Glue Dots.

Tools:  Paper trimmer, bone folder, We R Memory Keepers Corner Chomper, Cuttlebug, Cuttlebug Moroccan Screen Embossing Folder.

Tuesday, 22 May 2012

A Woodsy Birthday

While I occasionally work from sketches I usually start with either papers or stamps.  This time, however, I really wanted to try out  the following sketch Craft Your Passion has as their most current challenge:


I really like the layout of this sketch, and I have a masculine birthday coming up so I used the sketch to make the following card:


Once I decided on layout and theme, I looked for papers that I thought would work best.  I decided on My Minds Eye Miss Caroline Collection Dilly Dally 6x6 pad.  I liked the colours and the wood grain, and thought it would work with a woodsy theme.  Once I decided on patterns I choose coordinating cardstock and a Bo Bunny stamp set that would work well.

I decided on gray for the base,, and black as an accent.  I thought I would try out a technique that I had seen but not used before.  On the black piece I decided to use as the focal of the card I stamped my image with white craft ink.  After heat setting the ink I coloured over it with pencil crayons.  I was going to leave the centre of the tree uncoloured, but as I was going for 'tree at night' effect so I decided to colour the inside of the tree with green as well.  The green on the inside of the tree isn't completely visible but I think it blends in a bit better.

I thought it would be fun to use the flashlight from the set, so I cut some yellow from the same paper pad in a triangle that would fit the bottom of the focal point piece.  I temporarily adhered the yellow to the black piece and stamped the 'Happy Birthday' sentiment in Versamark over both pieces.  The section of sentiment over black I heat embossed in white, and the section over yellow I heat embossed in black.  Once the corners were rounded and the edges sponged I foam taped the triangle over the tree.

I wanted to add more detail to the background so I sponged the edges of each pattern with black and adhered them to the black accent piece.  I die cut some rick rack squares from gray and sponged them with white to make them look more distressed.  Once adhered somewhat randomly I added black hemp twine around the middle.  The focal card was adhered with foam squares to the background,  the little flashlight was foam taped in place, and the background was adhered to the card base.  


To follow with the sketch I found some buttons that would coordinate and knotted some brown thread through the centres of each.  I adhered these buttons with Zots to the background and I was done.

This card was fun to put together and I really like the result.  I should work from sketch challenges more often!

I would like to enter this card into the following challenges:
  1. Craft Your Passion - Sketch Challenge
  2. Catered Crop - Rickety Rack Recipe Swap
  3. Creative Craft Challenges - Distressing.
  4. Moving Along With the Times - Keeping it Real.
  5. The Pink Elephant - Buttons Galore.
  6. Simon Says Stamp and Show - Summer Holiday.
  7. Really Reasonable Ribbon - Father's day or Masculine with Ribbon or Trim.
  8. Creative Card Crew - Dimension.

I used the following supplies:

Cardstock:  Stampin' Up!  Basic Gray, Basic Black.  My Minds Eye Miss Caroline Dilly Dally 6x6 pad.

Stamps:  Stampin' Up! On Your Birthday, Bo Bunny Roughin' It.

Ink:  Stampin' Up!  Whisper White, Versamark Watermark Ink, Memories Black.

Embossing Powder:  Stampin' Up!  Basic Black, Martha Stewart Bright White.

Pencil Crayons:  Crayola Green, Brown, Gray.

Other Embellishments:  Buttons, thread, hemp twine all from stash.

Adhesive:  Tombow Mono Permanent Adhesive Runner, foam squares, Quickie Glue pen, Zots. 

Tools:  Cuttlebug, Quick Kutz Nesting Rick Rack Squares, scissors, paper trimmer, bone folder, We R Memory Keepers Corner Chomper. 

Wednesday, 9 May 2012

Monkey Business... and a new hobby!

I have a new hobby, and its all thanks to Youtube.  A few months ago I found a very crafty blogger on Youtube called The Frugal Crafter.  She's amazing!  She is primarily a stamper, but covers a wide variety of topics, including the one that piqued my interest - stamp carving.


I've heard of this craft before, and I've even thought about doing it, but it wasn't until seeing this video that I decided I would go out and get the supplies. I love her idea of carving a stamp before buying it, because many times I might get a whole stamp set just for one stamp.  I made my first few attempts a few days ago and came up with this leaf stamp that I really like:


I had started by carving some less simple designs, but they didn't quite turn out how I wanted them, so I decided to try something a bit easier for a beginner like me.  The leaves were a great shape to carve and I like how the stamp turned out, so I decided to use it to make a background for my next card.


I used two shades of green to stamp the leaves on kraft cardstock.  I stamped the entire sheet so the pattern is on the front and back.  I added some green seam binding, and since the leaves reminded me of banana leaves I thought this monkey stamp would work perfectly.  Once stamped and coloured on white cardstock I cut out the image and adhered it with foam squares.

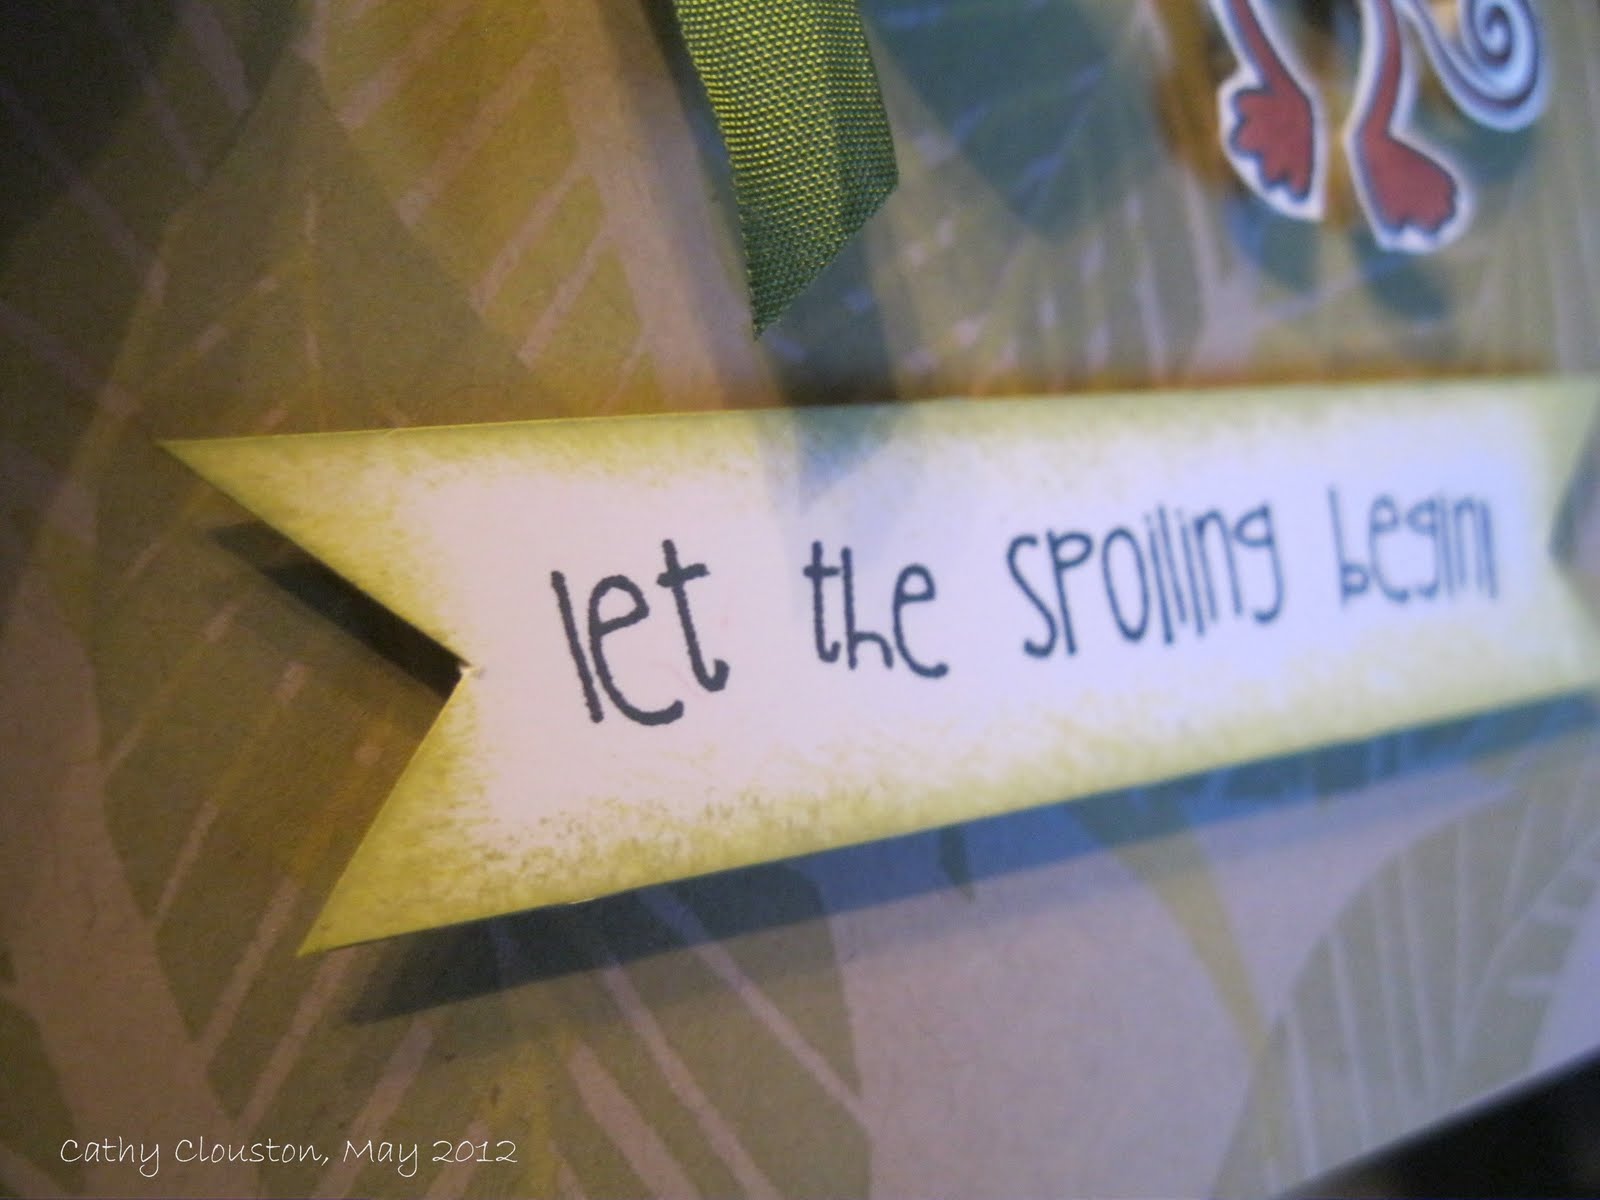
The sentiment was stamped on a strip of white, and trimmed with banner points on each end.  I sponged it with both shades of green ink. Adhered with more foam tape.


This was a pretty quick and simple card, but I love the effect of the background.  I think this would be a great card for a new baby or a baby shower., or even a kid birthday card.  I definitely see more hand carved stamps in my future!

I will enter this card into the following challenges:
  1. Catered Crop - B is for Bodacious (baby)
  2. Creative Craft Challenges - Anything Goes
  3. Crafty Card Makers - For the boys.
  4. Papertake Weekly - Cute, cute, cute.
  5. Everybody Art - Baby

I used the following supplies:

Cardstock:  Stampin' Up! Crumb Cake.  Gina K Pure Luxury 120# Pure White.

Stamps:  Unity Stamp & Bella Blvd Itty Bitty Let the Spoiling Begin.  Hand carved leaves.

Stamp Carving Supplies:  Speedball Speedy-Cut,  Speedball linoleum cutter set.

Ink: Memento Tuxedo Black, Color Box Fluid Chalk Ink Lime Pastel, Olive Pastel.

Markers:  Bic Mark Its Honey Brown, Tiki Hut Tan.

Ribbon: Ribbon Carousel Moss Green Vintage Seam Binding.

Adhesive:  Tombow Mono Permanent Adhesive Runner, Glue Dots, foam squares.

Other tools:  Paper trimmer, scissors, sponge.


Sunday, 22 April 2012

A birthday up in the air.

While I haven't been posting lately, I have been crafting a bit and this will be the first of two posts tonight.


Yet another belated birthday card, hopefully the last one for a while.  I love this patterned paper from American Crafts, and since the person I was making the card for likes planes, I thought of a great way to use it.

I have a really cute Recollections stamp set from Michaels with no name made up of various vehicles.  I stamped the plane from the set in brown ink and used my Bic Mark Its to colour the image.  

Once I cut out the image I chose some cardstock to coordinate with the pattern and layered them together.  I adhered the plane with foam tape and decided to put the sentiment on a strip of leftover white cardstock.  I cut the right side with a 'v' and matted the white with some kraft.  I felt it looked bare so I added some mini brads along the edge, and adhered some buttons threaded with hemp twine.

To finish I used a Stampin' Up marker in the same colour as the ink to make a swirly dash line behind the plane to suggest the route the plane had taken.  I think this was a fun touch, and I really like how it turned out!

On the inside, I adhered some white cardstock with a strip of the cloud pattern.  Once I stamped the sentiment I stamped another plane and added more dash lines.  This card is definitely one of my favourites!  :)


I would like to enter this card in the following challenges:
  1. Catered Crop:  The Get Krafty Recipe Swap
  2. Everybody Art:  Card for a man.
  3. The Paper Shelter:  Wings and Things

I used the following supplies:

Cardstock:  Stampin' Up!  Whisper White, Recollections kraft, American Crafts Hello Sunshine Dandy.

Stamps:  Recollections rubber stamp set, Stampin' Up! On Your Birthday, Bitty Birthday.

Ink:  Stampin' Up!  Chocolate Chip.

Markers:  Stampin' Up! Stampin' Write Chocolate Chip, Bic Mark Its Oceanview Blue, Rambunctious Red, Cloud Nine Grey.

Adhesive:  Tombow Mono Permanent Adhesive runner, foam squares, Glue Dots.

Embellishments:  Recollections mini brads, buttons and hemp twine from my stash.

Tools:  Paper trimmer, scissors, bone folder, We R Memory Keepers Corner Chomper.

Tuesday, 27 March 2012

Easter

Remember the St. Patrick's day card I made a couple of weeks ago?  If not you can see the post here, but at the time I mentioned I had several additional ideas for the technique I used.  When I saw the this sketch:


 at Freshly Made Sketches, I thought it was perfect because it was similar to one of the ideas that I had.  This is what I came up with:


Unfortunately I didn't finish my card in time to enter the challenge, but I still really like how this card turned out.

I started out with the cute bunny stamp that I got from one of the $1.50 bins at Michaels, and figured out which of my circle dies would fit it.  I chose to make the circles on the side the next size circle down, and I chose to use Jillibean Soup's Blossom soup collection for the lower layer. I used some SU Certainly Celery for the card base.

 I love the pink sheet with the type on it, so when I placed the die in order to cut I made sure that the bolded statement showing was one that I liked.  I then chose several other springy sheets and coloured the bunny to coordinate.   I added the top layer with some foam tape so the cirles look like windows.

Me being me I couldn't leave things alone, so I added some Sakura glitter pen, and as an afterthought I cut out a couple of butterflies from one of the sheets and added it with foam squares so the butterflies looked like they had just landed on the card.  Once I added some bakers twine the card was finished!


Since I didn't have an Easter sentiment stamp I decided to write "Happy Easter" on the inside, and I added some circles die cut from the papers used on the front.  I like how it turned out, but I'm not completely happy with my writing so I really think I need to practice on some calligraphy. :)


Although I missed the Freshly Made Sketches challenge, I was still able to join in on the following challenges:

  1. Creative Stamp Friends - Spring
  2. Stampin' For the Weekend - Anything Goes
  3. Papertake Weekly - BINGO:  Die Cuts, Free (Twine), Glitter
  4. Moving Along With the Times - Easter Wishes
  5. The Pink Elephant - Butterflies
  6. The Pretty Little Ribbon - Spring Colours

Here are the supplies I used this time:

Cardstock:  Stampin' Up Certainly Celery, Whisper White.  Jillibean Soup Blossom Soup 6x6 pad.

Stamp:  Craft Smart from Micheals (no name).

Ink:   Memories Black.

Markers:  Bic Mark It Oceanview Blue, Yellow Blaze, Margarita Green, Pink Flamingo, Tuxedo Black.  Sakura Gelly Roll Clear Stardust. Copic W3.  Prismacolour Colourless Blender.

Twine:  We R Memory Keepers Sew Easy Bakers Twine Primary Lemonade.

Adhesives:  Tombow Mono Adhesive Runner Permanent, Scotch Quick Dry, foam squares.

Tools:  Paper trimmer, scissors, Cuttlebug, Spellbinders Nestabilities Standard Circles Large, We R Memory Keepers Corner Chomper.