Showing posts with label Ribbon Carousel. Show all posts

Wednesday, 9 May 2012

Mother's Day is coming...

Mother's Day is approaching and I wanted to make something but I wasn't sure what since I don't really have a specific Mother's Day stamp.  I was flipping through my patterned paper when I came across a sheet with various sentiments on it, in the Fiddlesticks version of a My Mind's Eye Miss Caroline 6x6 pad. I thought I might use one of these blocks as a focus for a card, but I couldn't decide on one so I made two cards.


I love the patterned papers in the Miss Caroline collection so once I decided on which sentiments to use I decided to use at least three other patterns on my card.  I started with the wood grain, chose the plaid to coordinate, then chose a floral to mat the sentiment.


The wood grain had a floral pattern in two corners, one floral section was taller than the other, so I trimmed the backgrounds according to the height of the florals, then matched the rest of the papers to fit the card front.  It just worked out that one sentiment was taller than the other so I placed the tall one with the card that had more wood, and the shorter sentiment fit perfectly on the plaid section of the card that had half wood and half plaid. Its amazing that some things not planned work out so well.:)


Before adhering I lightly sponged all papers with gray ink, and rounded the corners to keep things soft.  Once the main patterns were adhered to the white matting I added some beige seam binding that coordinated nicely.  I also matted the sentiments with just a thin border of white to make them pop out a bit, then matted the white on the floral.


At first I thought I was done, but as I looked at the whole card I felt like something a bit 'more' was needed.  At this point I pulled out some Stampin' Up! self-adhesive pearls and added them in random sizes around the sentiments.  Just the thing that was needed!


I love that some 6x6 packs include sentiment sheets with them.  Since 6x6 patterns are generally shrunk down these sentiments are perfect for cardmaking.  And I think the sentiments I've used here are perfect for Mother's Day!  :)

I would like to include these cards in the following challenges:
  1. Creative Stamp Friends - Mother's Day
  2. Really Reasonable Ribbon - Mother's Day or Feminine plus ribbon.
  3. Speedy Fox Challenge - Use three of something.
  4. One Crazy Stamper - Mothers.
  5. Party Time Tuesdays - Mums the word.
  6. Creative Card Crew - Sentiment as Focal Point.
  7. Deep Ocean Challenge - What a Wonderful Woman.
  8. The Pink Elephant - All about Mom
  9. Craft Your Passion - Torn or distressed edges.
  10. Ribbon Carousel - Word to your Mother.
  11. Friends of Speedy TV Challenge - Mother's Day

I used the following supplies:

Cardstock:  Stampin' Up! Basic Gray, Whisper White.  My Mind's Eye Miss Caroline Fiddlesticks 6x6 Designer Paper Pad.

Ink:  Stampin' Up!  Going Gray.

Adhesive:  Tombow Mono Permanent Adhesive Runner, Glue Dots, foam squares.

Embellishments:  Ribbon Carousel Croquette Beige Vintage Seam Binding, Stampin' Up! Jewels Basic Pearls.

Tools:  Paper trimmer, scissors, We R Memory Keepers Corner chomper, sponge, We R Memory Keepers brad setter (used the pick end to lift the pearls from the backing sheet and placing on card - works much better than the tweezers I used to use!)

Flowery Friends with Ribbons

For this card I started with ribbons, lots of ribbons!  I have little wooden stands in my craft space with spools of Prima ribbon on them.  I look at them every day, and it occurred to me that I should see how many I could use on one card. :)


I started with a standard size card base made of kraft, and I cut another piece of  cardstock about 1/2 an inch smaller to give enough room to work with.  I chose several colours of ribbons ensuring they were all the same width and cut lengths a bit longer than the long side of the small piece of card.   These strips were adhered to the back of the short side of the card with glue dots.  I attached shorter ribbons to the back of the long side of the card, and wove them with the longer strips of ribbon.  Once done, all ends were attached with glue dots to the back of the card.  This piece was very thick by then so I decided to use more glue dots to attach it to the card front to ensure it was well adhered.


I cut another piece of kraft just slightly smaller than the card front, bigger than the woven piece, and die cut a large circle from it.  I embossed the edge of the circle with the die, and once done distressed the outside edge of the panel with a distressing tool.  A white gel pen was used to add dash lines around the edge of the circle, and the outside edge of the panel.  The sentiment was heat embossed in white.


In order to make the panel look as lush as the ribbon section, I added the last of the lovely silky Champagne ribbon from Ribbon Carousel, and some Prima flowers in soft coordinating colours. The panel was adhered to the ribbon piece with foam squares.


I really splurged on this card.  It was really fun to make and turned out to be so pretty!  :)

I would like to enter this card into the following challenges:
  1. Really Reasonable Ribbon - Mother's Day or feminine plus ribbon.
  2. Stampin' for the Weekend - Layer Upon Layer
  3. Speedy Fox - Use 3 of something.
  4. Deep Ocean Challenge - What a Wonderful Woman

I used the following supplies:

Cardstock:  Stampin' Up! Crumb Cake.

Stamps:  Pocket Silhouettes.

Ink:  Versamark Watermark ink pad, Stampin' Up! White Embossing powder, Sakura White Gelly Roll pen.

Embellishments:  Prima Marketing ribbon, Ribbon Carousel Champagne Silky Crushed ribbon, Prima Camille Almanac flowers.

Adhesive:  Glue Dots, foam squares.

Monkey Business... and a new hobby!

I have a new hobby, and its all thanks to Youtube.  A few months ago I found a very crafty blogger on Youtube called The Frugal Crafter.  She's amazing!  She is primarily a stamper, but covers a wide variety of topics, including the one that piqued my interest - stamp carving.


I've heard of this craft before, and I've even thought about doing it, but it wasn't until seeing this video that I decided I would go out and get the supplies. I love her idea of carving a stamp before buying it, because many times I might get a whole stamp set just for one stamp.  I made my first few attempts a few days ago and came up with this leaf stamp that I really like:


I had started by carving some less simple designs, but they didn't quite turn out how I wanted them, so I decided to try something a bit easier for a beginner like me.  The leaves were a great shape to carve and I like how the stamp turned out, so I decided to use it to make a background for my next card.


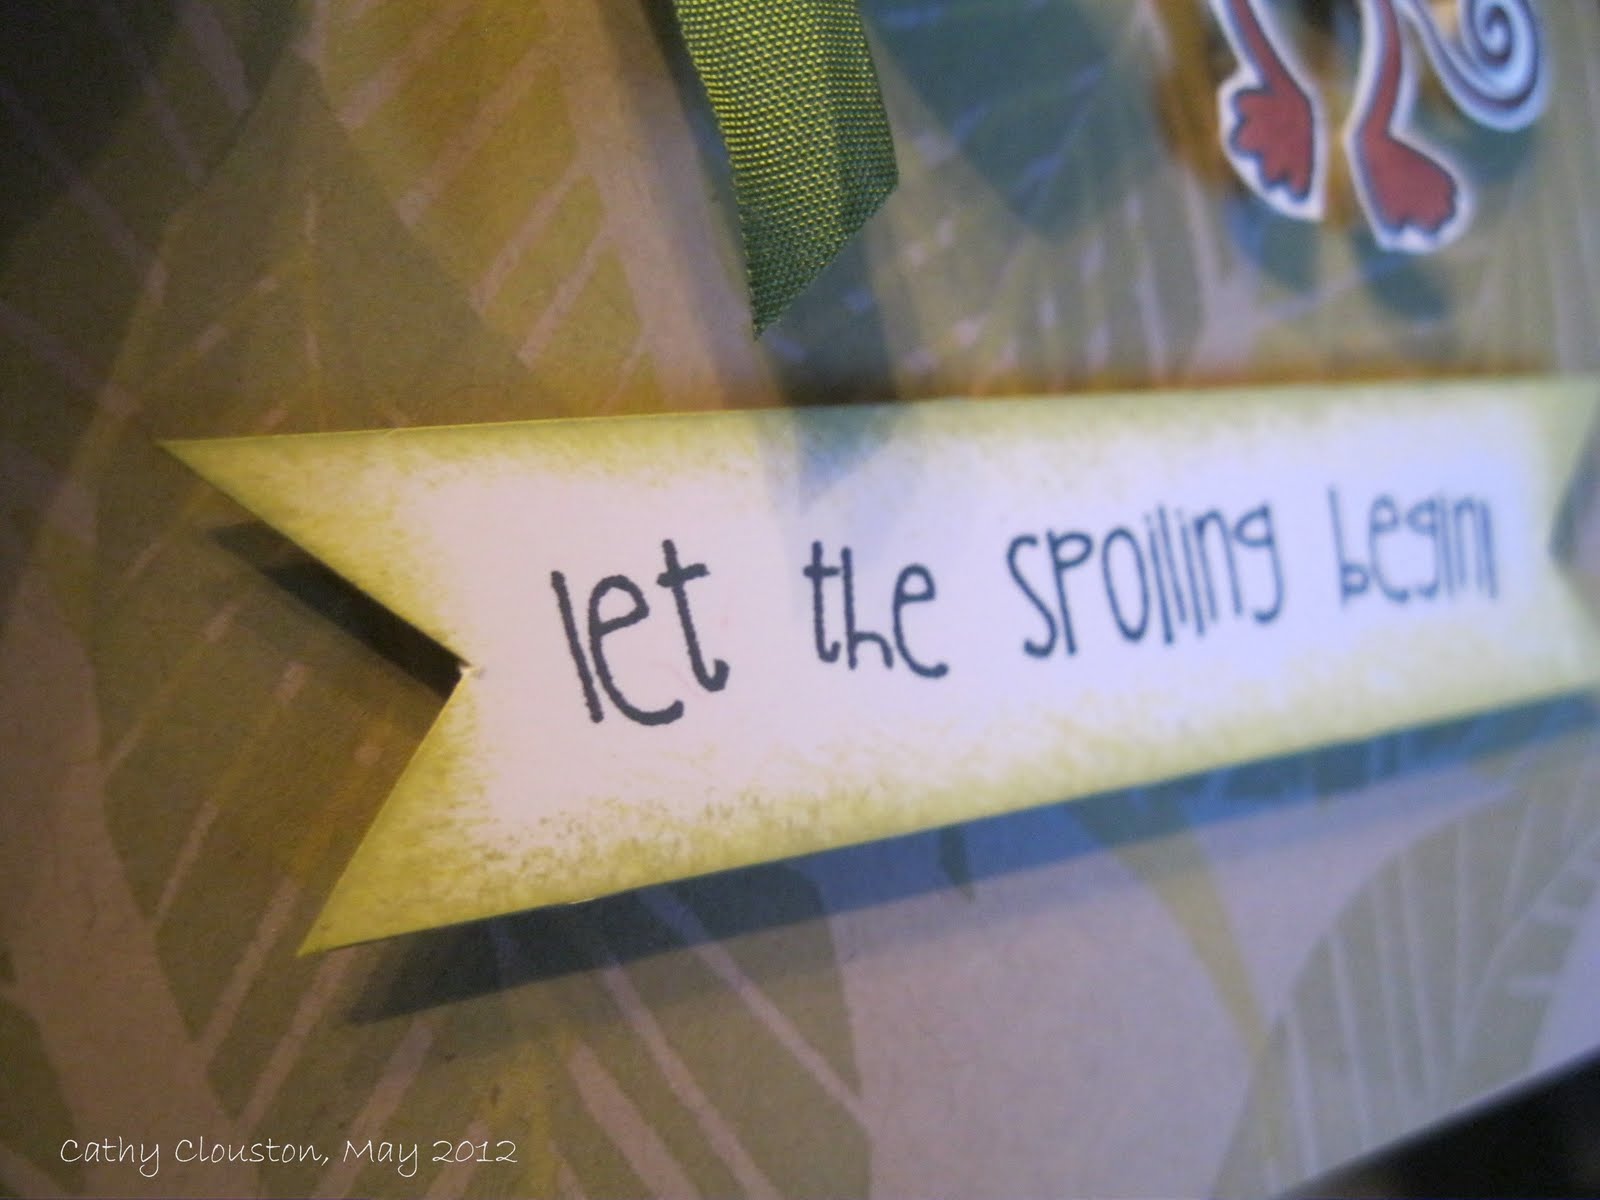
I used two shades of green to stamp the leaves on kraft cardstock.  I stamped the entire sheet so the pattern is on the front and back.  I added some green seam binding, and since the leaves reminded me of banana leaves I thought this monkey stamp would work perfectly.  Once stamped and coloured on white cardstock I cut out the image and adhered it with foam squares.

The sentiment was stamped on a strip of white, and trimmed with banner points on each end.  I sponged it with both shades of green ink. Adhered with more foam tape.


This was a pretty quick and simple card, but I love the effect of the background.  I think this would be a great card for a new baby or a baby shower., or even a kid birthday card.  I definitely see more hand carved stamps in my future!

I will enter this card into the following challenges:
  1. Catered Crop - B is for Bodacious (baby)
  2. Creative Craft Challenges - Anything Goes
  3. Crafty Card Makers - For the boys.
  4. Papertake Weekly - Cute, cute, cute.
  5. Everybody Art - Baby

I used the following supplies:

Cardstock:  Stampin' Up! Crumb Cake.  Gina K Pure Luxury 120# Pure White.

Stamps:  Unity Stamp & Bella Blvd Itty Bitty Let the Spoiling Begin.  Hand carved leaves.

Stamp Carving Supplies:  Speedball Speedy-Cut,  Speedball linoleum cutter set.

Ink: Memento Tuxedo Black, Color Box Fluid Chalk Ink Lime Pastel, Olive Pastel.

Markers:  Bic Mark Its Honey Brown, Tiki Hut Tan.

Ribbon: Ribbon Carousel Moss Green Vintage Seam Binding.

Adhesive:  Tombow Mono Permanent Adhesive Runner, Glue Dots, foam squares.

Other tools:  Paper trimmer, scissors, sponge.


Friday, 27 April 2012

Butterfly birthday wishes

Since my big card making sprint (and buying sprint I must admit)  at Christmas time I've been trying to resist buying new things since I already have a lot of stuff that needs to get used.  In March, however, I did my taxes and since I was lucky enough to get a bit of a refund I decided to restock some things, and splurge on a few other things.  I ordered a bunch of stuff from a few different places a few weeks ago and it all came in around the same time, so I got to play!  Here is the first of many creations to come:


The light is funny in this picture, it kind of looks like I used my flash even though I didn't but hopefully you get the idea.  I keep trying to experiment with different places, times of day, and lighting to get the best picture.  I don't think I've come across the best combination yet but I'll keep trying!

I started with a 6.5 x 6.5 paper pad from Kaiser Craft that I saw Kristina Werner use in one of her videos.  It's so pretty with soft colours, and lovely imagery.  I chose the sheet with  a pale blue background and line drawings of hydrangeas (I think?).  I paired it with a sheet of script paper (I seem to be attracted to anything with type or writing on it lately), and some Stampin' Up! Crumb Cake cardstock.  Crumb Cake is my absolute favourite shade of kraft!

I sponged the patterned papers with charcoal ink, and the white circle with creamy brown ink to coordinate with the kraft.  I used both of my two new Stampin' Up! sets by choosing an image from one, and a sentiment from the other, and heat embossing them in silver.  I decided to use a piece of beautiful ribbon that I purchased with my gift certificate won from Ribbon Carousel several weeks ago.  The ribbon was a bit wider than I needed so I pleated the ribbon with the help of some glue dots, then twisting it a bit before adhering to the back.  To conserve the special ribbon, the knot is a sort of faux- tie that I added after the long piece was adhered.


By the way, I was really impressed with Ribbon Carousel's prices, their shipping costs are really reasonable (always a concern when ordering from Canada) and everything came bundled neatly and in cute little patterned packets.  I actually saved the packaging to use later, lol!  I will definitely be ordering from them again!

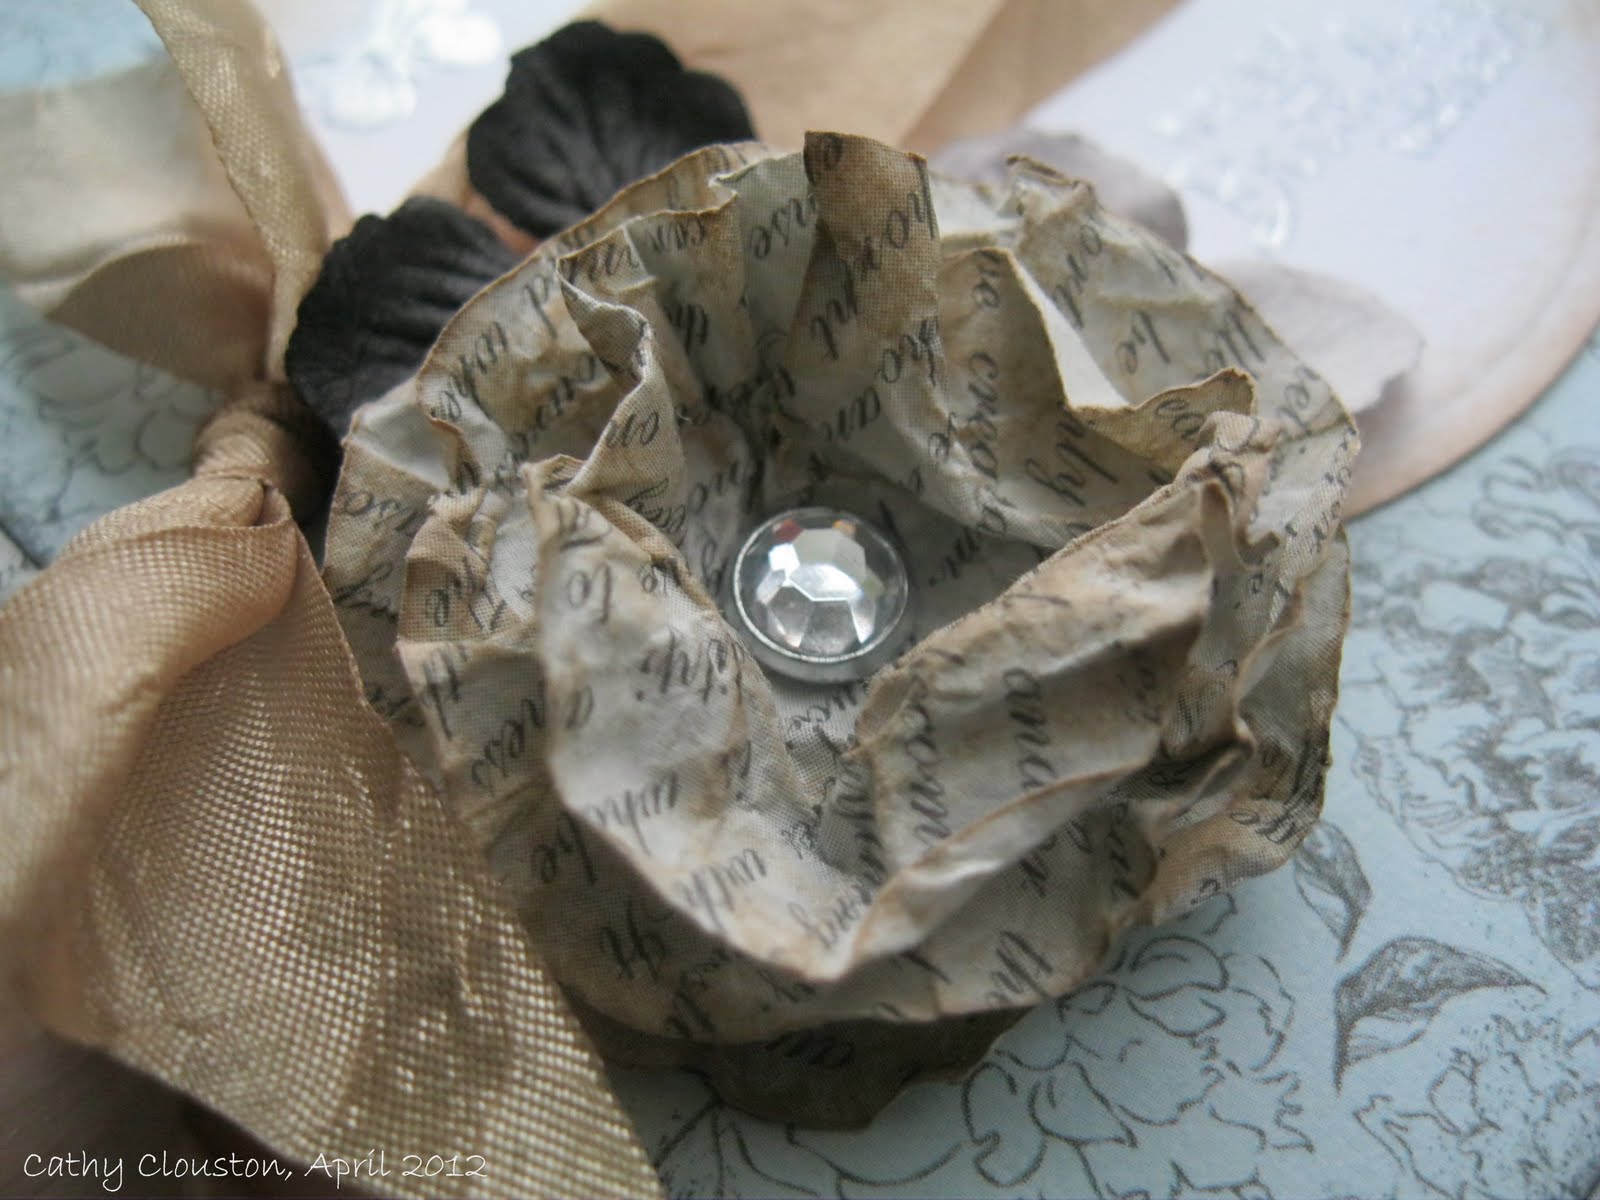
I decided on embellishments last, and as I really liked the script pattern I decided to make a paper flower out of it.  I wanted to make a different type of flower than I had before, so I used a technique I have seen Christine Urias use on a Scraptime video.  I have been watching her videos for a while, and since there are over 700 I couldn't find the one showing this technique in order to link here, but I highly suggest looking at her website www.scraptime.ca. She has covered so many things that I am sure you will learn something new!
To make this flower you just need to punch or die cut several circles.  Spray the circles with water and crumple them up.  They look almost like spit balls at this point but not nearly as gross, lol.   Once the little balls dry (or you can dry them with a heat tool), you carefully un-crumple them, stack several, poke a hole in the middle, add a brad, and voila - you have a flower!  I only needed to use three circles to make my flower, although I seem to remember Christine using 6 in her video.  Since I couldn't find the original video I could be making that number up, but I'm sure you could stack as many circles as you wanted to  make your flower as full as you would like.


I used a gem studded brad in the middle of my flower for sparkle, and inked the edges of the petals with more creamy brown ink.  I added a couple of small Prima flowers (also purchased at Ribbon Carousel), and although a lot was going on I felt like the card needed something more, so I added some faux stitching at the top and bottom with my white gel pen.  I really like the look of stitching so I think I may have to search for my sewing machine in the basement soon, but for the time being my gel pen works great for this.

On the inside of the card, I adhered a couple of strips of the patterns inked in charcoal, and a piece of white inked with creamy brown.  I added the companion sentiment to the sentiment on the front by heat embossing it in silver. All done!


I love how pretty this card is!  Now, what to play with next?  Hmmmm......


I will enter this card into the following challenges:
  1. Catered Crop - Get krafty. 
  2. Fussy and Fancy Friday - Punches and Dies 
  3. Pile it On -  Sparkle and Shine
  4. Party Time Tuesdays - Anything Goes + Kraft
  5. Creative Card Crew -  Ribbon
  6. Ladybug Crafts Ink- Birthday
  7. Deep Ocean Challenge - Use punches/dies
  8. Ribbon Carousel Challenge - Anything Goes
  9. Simon Says Stamp - Anything Goes
  10. Moving Along with the Times - Gardening or Flowers

I used the following supplies:

Cardstock:  Stampin' Up! Crumb Cake, Whisper White.  Bazzill Basics Antique Script.  Kaiser Craft Bonjour 6.5 Paper Pad.

Stamps:  Stampin' Up! Petite Pairs, Kindness Matters.

Ink:  Color Box Fluid Chalk Ink Creamy Brown, Charcoal.  Versamark Watermark Ink pad. Stampin' Up! Silver Embossing Powder.

Embellishments: Ribbon Carousel Champagne Silky Crushed ribbon, Prima Flowers Camille Almanac, Creative Charms brads.

Adhesive:  Mini Glue Dots, Tombow Mono Permanent Adhesive Runner.

Tools:  Cuttlebug, Spellbinders Nestabilities Standard Circles Large, paper trimmer, bone folder, scissors, tweezers, heat tool, Stampin' Up! embossing buddy, sponge We R Memory Keepers brad setting tool.