
Supplies needed:
- Glimmer paper or patterned paper. Here I used glimmer paper I made myself by spraying white card stock with an aerosol glitter spray. This looks really pretty but if you use the same spray I did be prepared to be covered with glitter by the time you are done! :)
- Paper trimmer.
- Heavy duty hole punch. I used my Crop-a-dile.
- Twine. I used jute twine but it doesn't show on the finished project so you can use whatever you have on hand.
- Circle punch or circle die. I used Nestabilities die with my Cuttlebug.
- Glue dots.
- Liquid glue.
- Embellishment for the front of the ornament. Click here to see how I made mine using a Mark's Finest Papers stamp set called Poinsettia Blooms.
- Ribbon.
- Scissors.
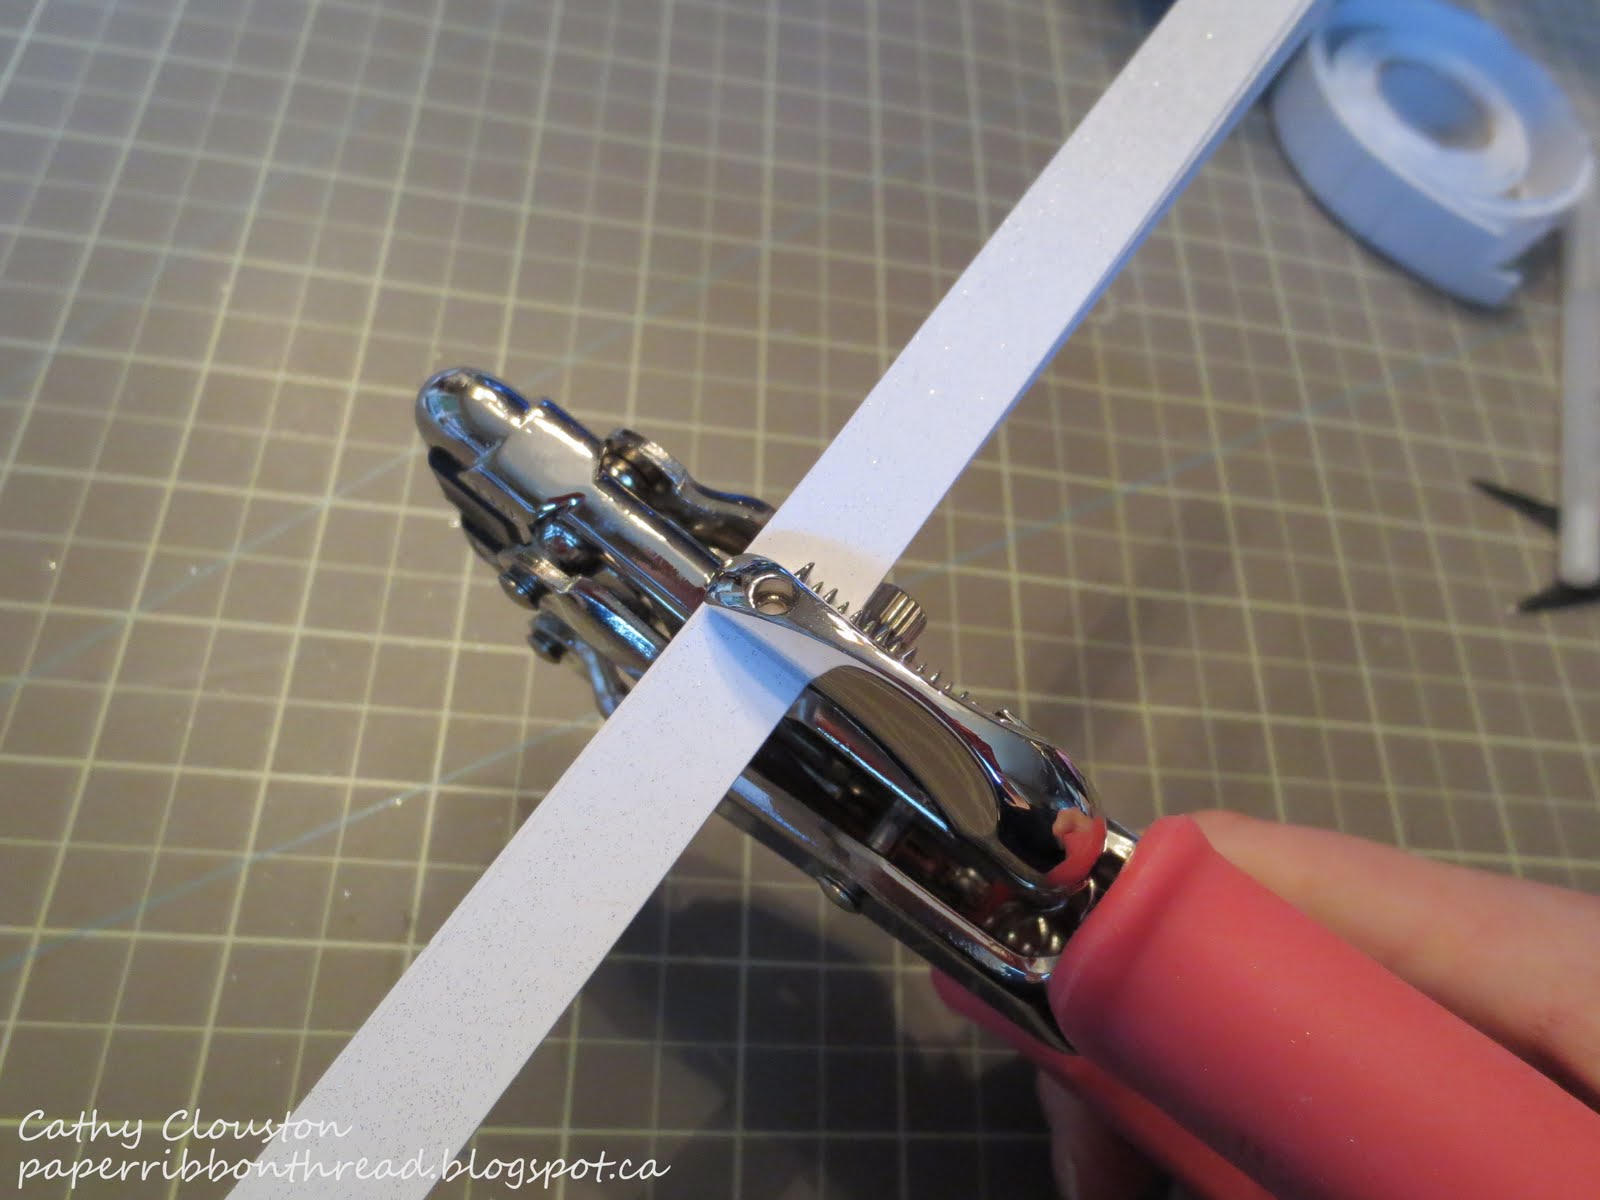
Step 1:

Trim your glimmer paper lenthwise into 7-10 1/2 inch wide strips. I made 10 strips, but don't trim more than this or there won't be enough room (you'll see what I mean later). On the other hand, don't make less than 7 strips or your ornament won't be full enough.
Step 2:

From the leftover glimmer paper punch or die cut two circles. Mine are 1.5 inches in diameter.
Step 3:

Stack your strips ensuring the glitter is on the same side of each and straighten the pile ensuring all edges are even.
Step 4:

Fold the strip on top of the pile in half so you know where the centre is.

Step 5:
Replace the top strip and punch a small hole in the middle of the bunch of strips. Since the bunch is so thick it is important to use a heavy duty hole punch.

Step 6:
Tie your strips together with the twine.

Start by poking an end of twine through the hole.

Bring your end up and around, poke the end through the hole again.

Bring the end up and around the other side, and tie.

Make a tight double knot and trim the ends.
Step 7:

Flip your strips over.
Step 8:

Add a glue dot to an end of one of the strips.
Step 9:

Press the end with the glue dot firmly to the centre of the same strip.
Step 10:

Fold up the loop that you just made.
Step 11:

Repeat step 9. Continue repeating step 9 and 10 until you finish one side of your pile of strips. Here is what it will look like partway through one side:

Step 12:

Flip your strips over so the glimmer side of the paper will still be facing out when you continue steps 9 and 10. As your ornament becomes more and more full take care not to smoosh the loops you've already created. This is the step where you will see that more than 10 strips will be too much. Here is what your ornament looks like so far:

Step 13:

Add a generous amount of liquid glue to the back of your circles.
Step 14:

Apply one circle to the back and one circle to the front of your ornament. Press firmly and allow to dry. This will give your ornament more stability.

Step 15:

Apply your embellishment to the centre of the ornament. I used foam tape here for more dimension but you can use any adhesive you like
Step 16:

Add some ribbon to the top of your ornament so that you can hang it up. You can decorate both sides if you like, especially if it is going on your tree.
See how quick and easy this was! If you are running out of time this is a great project to make assembly-line style. Click here to see my finished ornament! :)
No comments:
Post a Comment
Thanks so much for your comments! I read them all and appreciate every word! :)