Wednesday, 9 May 2012

Mother's Day is coming...

Mother's Day is approaching and I wanted to make something but I wasn't sure what since I don't really have a specific Mother's Day stamp.  I was flipping through my patterned paper when I came across a sheet with various sentiments on it, in the Fiddlesticks version of a My Mind's Eye Miss Caroline 6x6 pad. I thought I might use one of these blocks as a focus for a card, but I couldn't decide on one so I made two cards.


I love the patterned papers in the Miss Caroline collection so once I decided on which sentiments to use I decided to use at least three other patterns on my card.  I started with the wood grain, chose the plaid to coordinate, then chose a floral to mat the sentiment.


The wood grain had a floral pattern in two corners, one floral section was taller than the other, so I trimmed the backgrounds according to the height of the florals, then matched the rest of the papers to fit the card front.  It just worked out that one sentiment was taller than the other so I placed the tall one with the card that had more wood, and the shorter sentiment fit perfectly on the plaid section of the card that had half wood and half plaid. Its amazing that some things not planned work out so well.:)


Before adhering I lightly sponged all papers with gray ink, and rounded the corners to keep things soft.  Once the main patterns were adhered to the white matting I added some beige seam binding that coordinated nicely.  I also matted the sentiments with just a thin border of white to make them pop out a bit, then matted the white on the floral.


At first I thought I was done, but as I looked at the whole card I felt like something a bit 'more' was needed.  At this point I pulled out some Stampin' Up! self-adhesive pearls and added them in random sizes around the sentiments.  Just the thing that was needed!


I love that some 6x6 packs include sentiment sheets with them.  Since 6x6 patterns are generally shrunk down these sentiments are perfect for cardmaking.  And I think the sentiments I've used here are perfect for Mother's Day!  :)

I would like to include these cards in the following challenges:
  1. Creative Stamp Friends - Mother's Day
  2. Really Reasonable Ribbon - Mother's Day or Feminine plus ribbon.
  3. Speedy Fox Challenge - Use three of something.
  4. One Crazy Stamper - Mothers.
  5. Party Time Tuesdays - Mums the word.
  6. Creative Card Crew - Sentiment as Focal Point.
  7. Deep Ocean Challenge - What a Wonderful Woman.
  8. The Pink Elephant - All about Mom
  9. Craft Your Passion - Torn or distressed edges.
  10. Ribbon Carousel - Word to your Mother.
  11. Friends of Speedy TV Challenge - Mother's Day

I used the following supplies:

Cardstock:  Stampin' Up! Basic Gray, Whisper White.  My Mind's Eye Miss Caroline Fiddlesticks 6x6 Designer Paper Pad.

Ink:  Stampin' Up!  Going Gray.

Adhesive:  Tombow Mono Permanent Adhesive Runner, Glue Dots, foam squares.

Embellishments:  Ribbon Carousel Croquette Beige Vintage Seam Binding, Stampin' Up! Jewels Basic Pearls.

Tools:  Paper trimmer, scissors, We R Memory Keepers Corner chomper, sponge, We R Memory Keepers brad setter (used the pick end to lift the pearls from the backing sheet and placing on card - works much better than the tweezers I used to use!)

Flowery Friends with Ribbons

For this card I started with ribbons, lots of ribbons!  I have little wooden stands in my craft space with spools of Prima ribbon on them.  I look at them every day, and it occurred to me that I should see how many I could use on one card. :)


I started with a standard size card base made of kraft, and I cut another piece of  cardstock about 1/2 an inch smaller to give enough room to work with.  I chose several colours of ribbons ensuring they were all the same width and cut lengths a bit longer than the long side of the small piece of card.   These strips were adhered to the back of the short side of the card with glue dots.  I attached shorter ribbons to the back of the long side of the card, and wove them with the longer strips of ribbon.  Once done, all ends were attached with glue dots to the back of the card.  This piece was very thick by then so I decided to use more glue dots to attach it to the card front to ensure it was well adhered.


I cut another piece of kraft just slightly smaller than the card front, bigger than the woven piece, and die cut a large circle from it.  I embossed the edge of the circle with the die, and once done distressed the outside edge of the panel with a distressing tool.  A white gel pen was used to add dash lines around the edge of the circle, and the outside edge of the panel.  The sentiment was heat embossed in white.


In order to make the panel look as lush as the ribbon section, I added the last of the lovely silky Champagne ribbon from Ribbon Carousel, and some Prima flowers in soft coordinating colours. The panel was adhered to the ribbon piece with foam squares.


I really splurged on this card.  It was really fun to make and turned out to be so pretty!  :)

I would like to enter this card into the following challenges:
  1. Really Reasonable Ribbon - Mother's Day or feminine plus ribbon.
  2. Stampin' for the Weekend - Layer Upon Layer
  3. Speedy Fox - Use 3 of something.
  4. Deep Ocean Challenge - What a Wonderful Woman

I used the following supplies:

Cardstock:  Stampin' Up! Crumb Cake.

Stamps:  Pocket Silhouettes.

Ink:  Versamark Watermark ink pad, Stampin' Up! White Embossing powder, Sakura White Gelly Roll pen.

Embellishments:  Prima Marketing ribbon, Ribbon Carousel Champagne Silky Crushed ribbon, Prima Camille Almanac flowers.

Adhesive:  Glue Dots, foam squares.

Monkey Business... and a new hobby!

I have a new hobby, and its all thanks to Youtube.  A few months ago I found a very crafty blogger on Youtube called The Frugal Crafter.  She's amazing!  She is primarily a stamper, but covers a wide variety of topics, including the one that piqued my interest - stamp carving.


I've heard of this craft before, and I've even thought about doing it, but it wasn't until seeing this video that I decided I would go out and get the supplies. I love her idea of carving a stamp before buying it, because many times I might get a whole stamp set just for one stamp.  I made my first few attempts a few days ago and came up with this leaf stamp that I really like:


I had started by carving some less simple designs, but they didn't quite turn out how I wanted them, so I decided to try something a bit easier for a beginner like me.  The leaves were a great shape to carve and I like how the stamp turned out, so I decided to use it to make a background for my next card.


I used two shades of green to stamp the leaves on kraft cardstock.  I stamped the entire sheet so the pattern is on the front and back.  I added some green seam binding, and since the leaves reminded me of banana leaves I thought this monkey stamp would work perfectly.  Once stamped and coloured on white cardstock I cut out the image and adhered it with foam squares.

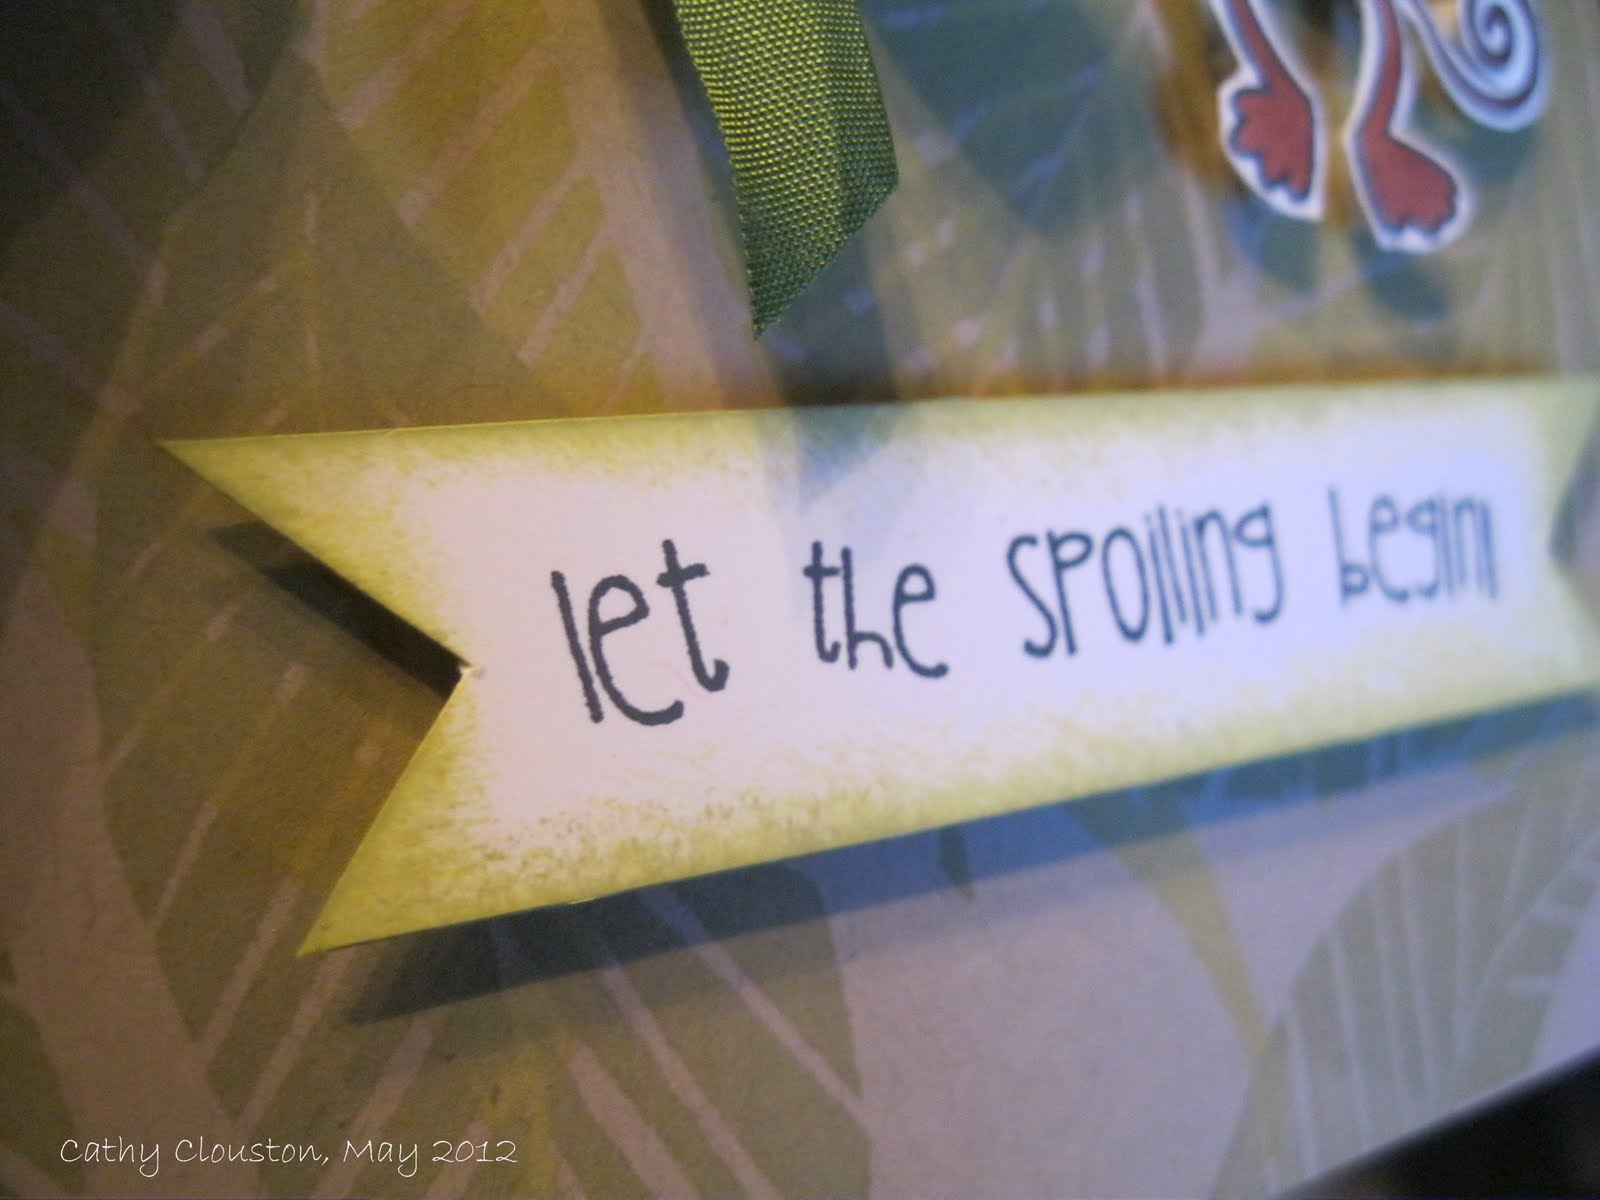
The sentiment was stamped on a strip of white, and trimmed with banner points on each end.  I sponged it with both shades of green ink. Adhered with more foam tape.


This was a pretty quick and simple card, but I love the effect of the background.  I think this would be a great card for a new baby or a baby shower., or even a kid birthday card.  I definitely see more hand carved stamps in my future!

I will enter this card into the following challenges:
  1. Catered Crop - B is for Bodacious (baby)
  2. Creative Craft Challenges - Anything Goes
  3. Crafty Card Makers - For the boys.
  4. Papertake Weekly - Cute, cute, cute.
  5. Everybody Art - Baby

I used the following supplies:

Cardstock:  Stampin' Up! Crumb Cake.  Gina K Pure Luxury 120# Pure White.

Stamps:  Unity Stamp & Bella Blvd Itty Bitty Let the Spoiling Begin.  Hand carved leaves.

Stamp Carving Supplies:  Speedball Speedy-Cut,  Speedball linoleum cutter set.

Ink: Memento Tuxedo Black, Color Box Fluid Chalk Ink Lime Pastel, Olive Pastel.

Markers:  Bic Mark Its Honey Brown, Tiki Hut Tan.

Ribbon: Ribbon Carousel Moss Green Vintage Seam Binding.

Adhesive:  Tombow Mono Permanent Adhesive Runner, Glue Dots, foam squares.

Other tools:  Paper trimmer, scissors, sponge.


Saturday, 5 May 2012

Jewelry for your birthday...

Sometimes I know exactly what I want to make, and even if what I end up with doesn't look exactly like what I had in mind, it always has kernels of my original idea.  that is definitely not what happened with this card.  :)


I started with a piece of kraft cardstock and some natural twill ribbon.  I spotted some metal sheets in my sash and decided to try embossing them in my Cuttlebug.  Wat a result1  I love the effect, it reminds me of old fashioned tin ceiling tiles  As such I thought I would age it a bit by sponging on some black Staz-on.

Once this was done i thought I would play with some more ribbon and Glubers.  You can read about my original Gluber flower here.  I chose red, pink and black this time, for no other reason that thats what struck my fancy at the time.  I used various Gluber sizes and added rhinestones to the centre, then kept adding and kept adding!  I'm usually stingy with rhinestones, but this time I felt like splurging. 


Once done I decided the kraft cardstock and twill ribbon I had originally chose wouldn't go with the direction I was heading in.  I chose some black cardstock instead, and instead of adding more ribbon I decided to heat emboss the sentiment on a strip of black cardstock.  I trimmed the end with banner points, and adhered the piece with foam squares.  I of course had to add more rhinestones.  :)

This card turned out so blingy that it almost looks like jewelry!  What do you think?

I would like to enter this card in the following challenges:
  1. Creative Card Crew - Ribbon 
  2. Catered Crop - B for Bodacious 
  3. Creative Craft Challenges - Anything Goes 
  4.  Craft your Passion - Lots of texture
  5. Party time Tuesdays - Two or more ribbons
  6. Really Reasonable Ribbon - Mother's Day or Feminine plus ribbon
  7. Papertake Weekly - Anything Goes
  8. Simon Says Stamp challenge - Anything birthday goes
  9. The Cuttlebug Spot - Flowers for Mom
  10. Lets Ink it Up - Bling
  11. Speedy Fox Challenge - Use 3 of Something

I used the following supplies:

Cardstock:   Stampin' Up!  Basic Black

Stamps:  Stampin' Up! Petite Pairs.

Ink:  Staz-On Jet Back, Versamark Watermark Ink pad

Metal:  Quick Kuttz Metal Sheets, Stampin' Up!  Silver Embossing Powder.

Other embellishments:  Ribbons from my Stash,Micheals Rhinestone stickers.

Adhesive:  Cosmo Cricket Glubers, Tombo Mono permanent adhesive runner, foam squares.

Tools:  Paper trimmer, scissors, Cuttlebug, Cuttlebug embossing folder from Paperlace II set, We R Memory Keepers Corner Chomper, Sponge.


Tuesday, 1 May 2012

The wonders of Washi tape

Sometimes no matter how hard I try I just can't sleep.  Other times I will go to bed early because I am so tired, but then I wake up in the middle of the night and can't go back to sleep because maybe I wasn't as tired as I thought.  When that happens I will sometimes surf the web until I am tired again, or I may make something.  That is what happened when I made this card.


Clean and simple cards are not something that comes to me naturally, I usually have to think about it and if I think about it I usually over-think it and then its not clean and simple anymore.  This clean and simple card was pretty easy though, probably because I was half asleep at the time, lol. 

I had just received an order of washi tape in the mail, so it was on my mind when I got the idea for this card.  I started with Gina K's 120# white cardstock and embossed it with a Tim Holtz Texture fade. Once embossed I randomly added various stripes of washi tape, tearing each end so it was a bit jagged.

I love this stuff!  I've never worked with it before, but since its everywhere I thought I would try it out.   It is so nice, repostionable and pretty.  I will definitely be purchasing more. 


I stamped my sentiment on a strip of white cardstock, trimmed the end to points, adhered it with foam squares, and as an afterthought added some bakers twine I received as a gift with my washi tape order.  I was going to add some ink to the embossed space, but I really don't think it was necessary.

Since this was a simple card I left the inside plain except for the sentiment.


I'm really impressed with what I can do when I'm half-asleep, lol.   My husband said that this was one of the brightest cards I've made in a while.  I decided to take that as a compliment. :)

I would like to enter this card into the following challenges:
  1. Simon Says Stamp Challenge -  Anything Goes
  2. Simon Says Stamp and Show - A Kaleidescope of Colour
  3. Creative Craft Challenges -  Anything Goes
  4. The Pink Elephant - Springtime
  5. Craft Your Passion - Lots of Texture
  6. Papertake Weekly - Anything Goes

I used the following supplies:

Cardstock:  Gina K Designs 120# Pure Luxury Pure White.

Stamps:  Stampin' Up!  Petite Pairs.

Ink:  Memories Black.

Adhesive:  Foam Squares.

Embellishments: Washi tape purchased from Le Box Boutique.  Bakers Twine was a gift with purchase.

Tools:  Paper trimmer, bone folder, scissors, Cuttlebug, Sizzix Tim Holtz Texture Fade Checkerboard.