Monday, 27 August 2012

Craft Your Passion #125 Embossing

Its almost the end of August and its time for another challenge at Craft Your Passion.  This week's theme is "Embossing" and this is what I came up with:


This time we got to choose a digital image from our sponsor Cardmadfairy.  Their images are really fun, and I loved this one called "All Dressed Up".  I started by colouring the image, and since I didn't want to cut it out this time, I instead masked the image and added some light brown ink with an ink blending tool.  I think this adds alot of depth to the panel.  As an afterthought I also added some glitter pen to her necklace.


I chose the card stock and coordinating patterns, embossing the top layer with my "Seeing Spots" embossing folder.  All pieces where inked with light brown, taking care to emphasize the spots on the embossed piece.  Once I adhered the main panel together I added some ribbon and adhered it to the card front.  The  image panel was foam taped over the ribbon, and I added a bow and some Prima flowers. I have so many elements the dry embossing can be hard to see in a picture but its there!


I heat embossed the sentiment with some black embossing powder and banner cut the piece.  I then added more light brown ink with my blending tool.  Once I foam taped this to the card front I thought I was done but I felt as though the card still needed something.  For this reason I added some random rhinestones over the front of the card.  

For the center of the card I stamped the second part of the sentiment on some inked cream card stock, matted it,  and adhered it with some corner rounded scraps.


Don't you want to join in the fun?  Create your project and add it to the inlinkz at Craft Your Passion  by September 2nd so that you can be entered into the draw.  See the blog for details on prizes! Also, don't forget to check out the projects from the rest of the DT. There is lots of inspiration to be had!


I used the following supplies:

Card Stock:  Stampin' Up!  Crumb Cake, Very Vanilla, Melon Mambo, Fancy Pants Its the Little Things 6x6 pad.

Stamps:  Digital - Cardmadfairy All Dressed Up  Rubber - Stampin' Up!  Petite Pairs.

Ink:  Colorbox Fluid Chalk Ink Creamy Brown, Memories Black, Versamark Watermark Ink.

Embossing:  Stampin' Up Black Embossing Powder, Cuttlebug Seeing Spots Embossing Folder.

Markers:  Copic W3, 0, E21, E0, R20.  Bic Mark Its Margarita Green, Fandango Pink, Yellow Blaze.  Neopiko 2 4548.

Embellishments:  Prima Flowers Melisse Nature Garden, Camille Almanac.  American Crafts Premium Satin Ribbon, Stampin' Up! Basic Jewels Rhinestones.

Adhesive:  Scotch ATG, Scotch Quick Dry, Zots, foam squares, Dotto.

Tools:  Paper trimmer, bone folder, scissors, Cuttlebug, We R Memory Keepers Corner Chomper, Ranger Ink Blending tool, heat tool.


I would like to enter into the following challenges:

  1. Catered Crop - No Stress to Distress
  2. The Ribbon Carousel - Bump it Up
  3. Pile it On - Something with P (Pink, petals, person)


Friday, 24 August 2012

Pause Dream Enjoy Challenge #34 Little Green Men

Its time for another Friday challenge at Pause Dream Enjoy Challenges!  This week the theme is a fun one, "Little Green Men".  Here is what I came up with:


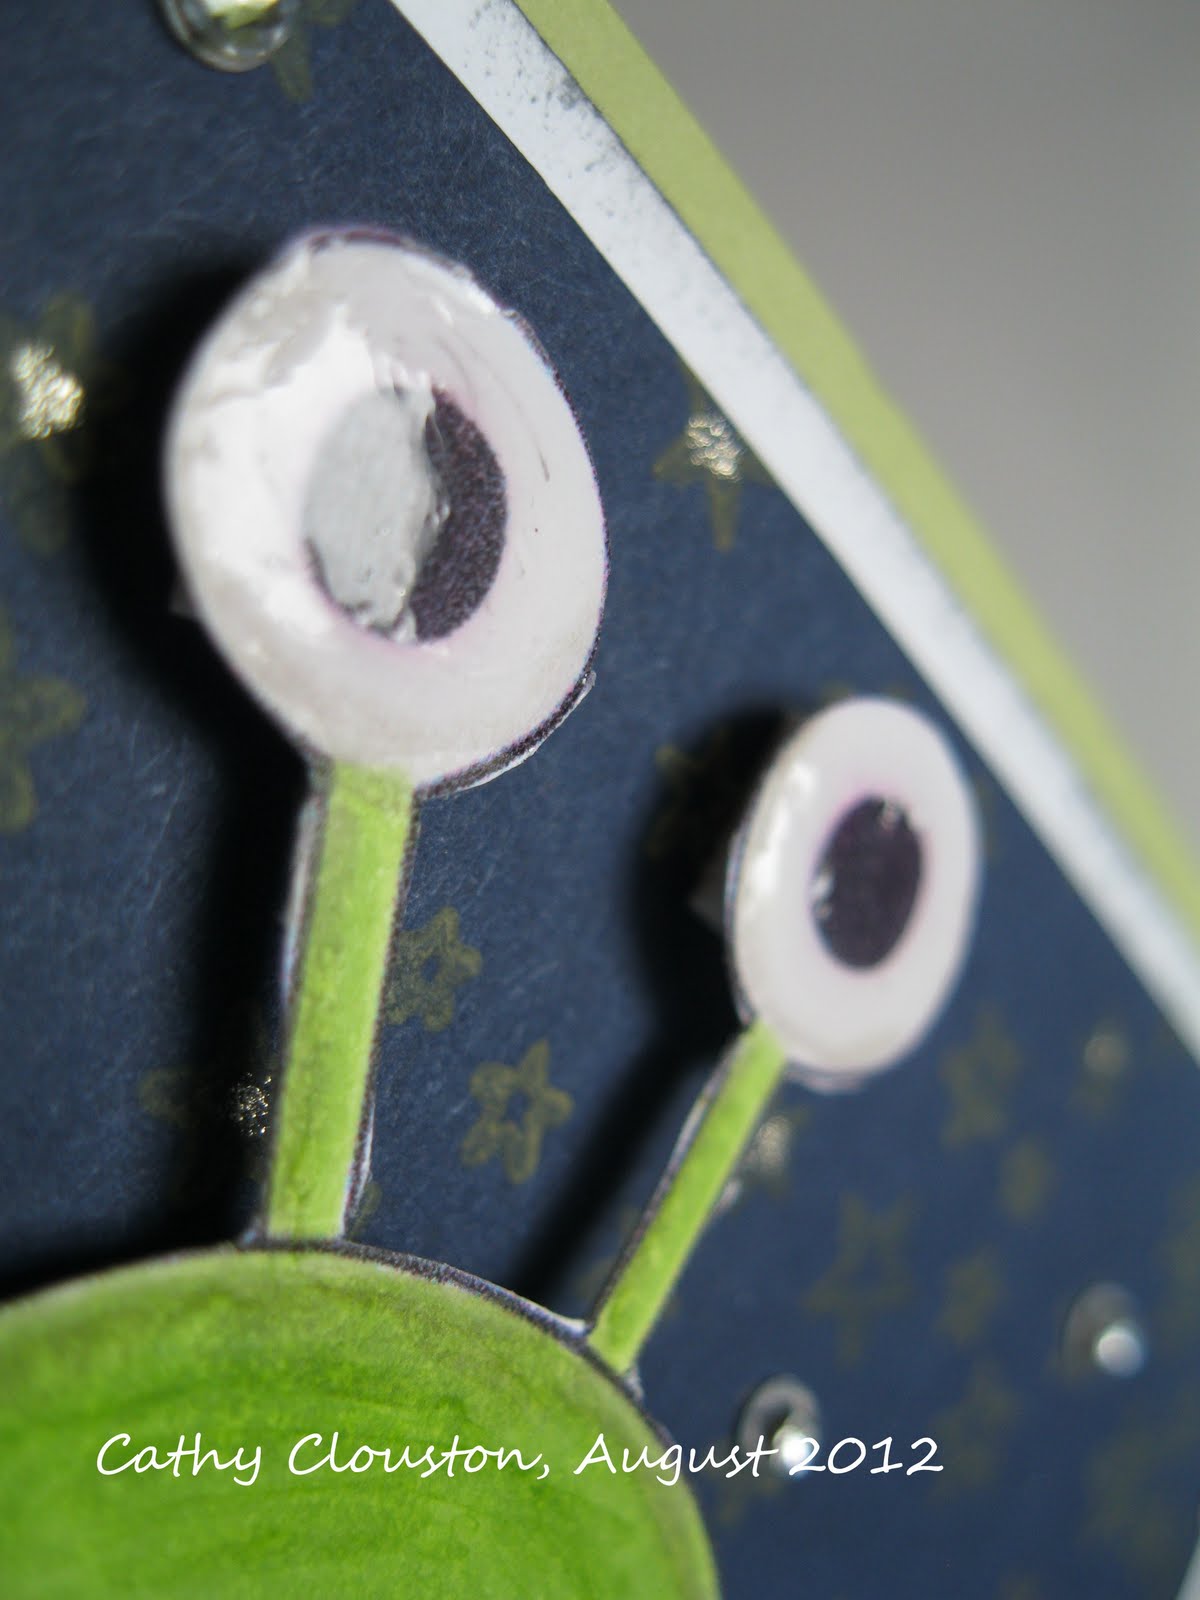
Can you believe I didn't use any ribbon on this one, lol?  I started with these cute images from Squigglefly.   I coloured the alien and his saucer first then chose some coordinating cardstock.  I die cut a large circle from gray and trimmed it down to the size I wanted and drew some craters with a grey marker.  On the navy piece of cardstock I stamped a stars pattern over the entire piece with yellow chalk ink.  The sentiment was printed on white cardstock and trimmed, then I inked the white and the planet with charcoal ink.

Once I adhered the main panel I adhered the planet in place and coloured in random stars with glitter pen.  I adhered the sentiment with foam tape, adhered the saucer directly to the background and adhered the alien with foam squares.  I added all of the green gemstones to the o's in the sentiment, and added some clear gemstones randomly to some of the stars. 


Finally I added some diamond glaze to the saucer and to the alien's eyes. It was the first time I have used the stuff so it wasn't perfect but I think I did ok. 


Now its your turn! This week's prize is a $5 gift certificate from Clear Dollar Stamps.


Whether you link here or at Pause Dream Enjoy Challenges your project will be entered into the same draw. And don't forget to stop by the rest of the design team's blogs.  They come up with amazing projects every week and this week is no exception!


I used the following supplies:

Card Stock:  Stampin' Up!  Night of Navy, Certainly Celery, Whisper White, Basic Greay.

Stamps:  Digital - Squigglefly Spacepack.  Clear - Fancy Pants Little Star

Ink:  Colorbox Fluid Chalk Ink Yello Ochre, Charcoal, Memento Tuxedo Black.

Markers:  Copic W3, W5, 0.  Bic Mark Its Margarita Green, Oceanview Blue.

Embelishments:  Scrappin Supplies Rhinestones, Sakura Gelly Roll Clear Star glitter pen.

Adhesive:  Scotch ATG, foam squares, Diamond Glaze.

Tools:  Paper trimmer, bone folder, scissors, Cuttlebug, Spellbinders Nestabilities Circles Large, sponge.

Monday, 20 August 2012

Craft Your Passion #124 The Power of Three

Hi Everyone, its time for another Craft Your Passion challenge.  This week the theme is "The Power of Three".  This is what I came up with:


This was a fun one as I really let myself play.  I was fortunate enough to be able choose an image from sponsor Crafty Sentiments Designs, and I decided to go with this one called "Tess Summer Fun"  I coloured her with my alcohol markers, and then decided to do something a little different.  Once I inked the edges with light brown ink I went over the whole thing with Versamark ink and added some ultra thick embossing powder. Once heated, I added some glitter to the hot embossing.  Once cooled I added another layer of embossing powder.  I love how it turned out!  I thought about doing the crackled glass technique again but decided I liked it as is. In the below image you can sort of see how the glitter appears:


Once my image was completed I chose coordinating card stock and patterned paper.  I adhered the main panel first, added three strips of ribbon and flower brads, added the panel to the card base, and then adhered the image with foam tape over the ribbon.

I decorated the centre with an inked panel of cream and a scrap of the pattern I used.


Don't you want to join in the fun?  Create your project and add it to the inlinkz at Craft Your Passion  by August 26th so that you can be entered into the draw.  See the blog for details on prizes!  And if you feel you need more inspiration the DT have created some beautiful projects.  Feel free to visit their blogs and tell them what you think!  :)


I used the following supplies:

Card Stock:  Stampin' Up!  Garden Green, Very Vanilla, Recollections Kraft, Gina K Designs  120# Pure White, Fancy Pants Its the Little Things 6x6 Paper Pad.

Stamp:  Digital - Crafty Sentiments Tess Summer Fun

Ink:  Colorbox Fluid Chalk Ink Creamy Brown, Versamark Watermark Ink.

Embossing: Ranger Melt Art Ultra Thick Embossing Enamel

Markers:  Copic E00, E21, R20, 0.  Bic Mark Its Margarita Green, Rambunctious Red, Forest Green, Key  Lime, Blue Skies Blue, Oceanview Blue, Tiki Hut Tan, Polynesian Purple, Plumtastick Purple, Yellow Blaze, Summer Melon, Sunset Orange, Pink Flamingo. 

Embellishments: American Crafts Premium Satin Ribbon, Creative Charms flower brads, Stampin' Up! Dazzling Diamonds

Adhesive:  Scotch ATG, foam sqares, Zots.

Tools:  Paper trimmer, bone folder, scissors, We R Memory Keepers Corner Chomper, We R Memory Keepers brad setting tool, Ranger Ink blending tool.

I would like to enter into the following challenges:
  1. Everybody Art - Summer
  2. Ribbon Carousel - Celebrating Summer
  3. Party Time Tuesdays - Garden Delights
  4. Simon Says Stamp and Show - No Rules

Friday, 17 August 2012

Pause Dream Enjoy Challenge #33 Flamingo Pink

Its Friday so that means its time for another Pause Dream Enjoy Challenge!  This week the theme is to use flamingo pink, or flamingos, or both.  This is what I came up with:


I started this flamingo image from Squgglefly.  I kept the colouring simple, and fussy cut the image when done.  I chose coordinating card stock, trimmed everything to size and inked it with light brown ink. I particularly love the kraft paper with printed script. I used it to mat the pink doily paper but I tried to keep the border wide enough that you could still see the script.  I adhered the pieces to form the main panel.

I was going to adhere the flamingo image right on the base panel, but I decided to back it with a jounalling block from a sticker booklet that comes from the same collection as one of the patterned papers.  so that it was easier to layer I backed the block with white cardstock and trimmed it out.


Once I added ribbon to the main panel I adhered the panel to the card front and foam taped the image piece over the ribbon.  I added the bow and the big flower.  The big flower had been made out of white poster paper and then misted.  I added an inked sentiment sticker to the bottom of the card, and added the small flower stickers diagonally across the card front.


For the center I added an inked piece of white and a few more inked stickers.


Why don't you join us in the fun?  This week's prize is a $5 gift certificate from Clear Dollar Stamps.  How fun is that?!


Whether you link here or at Pause Dream Enjoy Challenges your project will be entered into the same draw. 


These are the supplies I used:

Card Stock:  Gina K Designs Heavy Baseweight Bubblegum Pink.  Stampin' Up!  Whisper White, Jillibean Soup Talk Soup Cup of Yak, American Crafts Hello Sunshine Delight

Digital Stamp:  Squigglefly Flamingo

Ink:  Colorbox Fluid Chalk Ink Creamy Brown

Markers:  Bic Mark Its Cloud Nine Grey, Fandango Pink, Pink Flamingo, Summer Melon, Yellow Blaze

Mists:  Shimmerz Paints Spritz Plum Pudding, Cotton Candy, Shimmerz Paintz Shimmeringz Goldie Lox.

Embellishments:  Stampin' Up!  Twill Tape, American Crafts Premium Satin Ribbon, homemade scrunchie flower, Recollections Gemstone stickers, American Crafts Remarks Phrases and Journalling sticker book Good Afternoon.

Adhesive: Scotch ATG, foam squares, Quickie Glue Pen, Scotch Quick Dry.

Tools:  Paper trimmer, bone folder, scissors, Ranger Ink blending tool.


I would like to enter into the following challenges:
  1. Pretty Little Ribbon - Add some bling or sparkle.
  2. Creative Card Crew - Maps/ Newsprint/ Sheet Music/ Script.
  3. Simon Says Stamp - Animal Antics
  4. My Mums Craft Shop - Kraft it

Tuesday, 14 August 2012

Use it Tuesday #37 School

Its time for another Use it Tuesday challenge! We are coming into the middle of August which means there are only a few weeks until school starts which may be a bad thing or a good thing depending on your perspective, lol.  This week the theme is "School"  and this is what I've come up with:


I knew exactly which items I would use from my stash for this.  I have had a Basic White and a Basic Kraft 6x6 pads from Basic Grey for over a year that I keep flipping open and admiring and thinking of all of the things I could do with it, but then I chicken out and don't use any of it.  When I heard of what the theme would be I knew the exact sheets to use.  There is this pattern with writing and what looks like graphs and formulas, and could have come straight from math class.


Once I had decided on those sheets I chose some coordinating card stock and patterns.  I trimmed all of the pieces I wanted, then pulled some red and green scraps from my scraps stash.  I drew the apple and the worm freehand and cut them out, then added some pen details.  For depth I added light brown ink to the edges with a blending tool.   I also inked the edges of the patterns with the light brown ink.

For the 'chalk board' piece I inked the edges of a square piece of black cardstock with white before adhering to the mat of kraft patterned paper, and added the sentiment with white gel pen. I adhered the pieces for the main panel and added some kraft washi tape, some twine, and some staples, then adhered the main panel to the card base.  The chalk board was foam taped over the twine, and then I glued the apple and worm pieces with a Quickie glue pen.


For the center of the card I used a patterned piece that looks like notebook paper matted with more of the kraft pattern.


Now its your turn!!  Create a project (it doesn't have to be a card - whatever you can think of!)  and go to Use it Tuesday. Add your project using the inlinkz by Friday August 24th, and make sure to tell us in your post what you used that was hoarded! One lucky crafter who joins in will be randomly chosen as featured guest designer in an upcoming challenge!!

Don't forget to visit the other DT members!  As usual they have come up with some beautiful items in order to provide you with some inspiration!  :)

We can't wait to see what you create! Now go Use It!!

This is what I used for my project:

Card Stock: Gina K Designs Heavy Baseweight Black Onyx, Lilybee Design Memorandum 6x6 tiny tablet, Basic Grey Basics White paper pad and Basics Kraft paper pad.

Ink:  Colorbox Fluid Chalk Ink Creamy Brown, Alabaster.

Pens:  Sakura Gelly Roll white, black fine tip felt pen.

Adhesive:  Scotch ATG, foam squares, Quickie Glue Pen.

Embellishments:  Hemp twine from stash, Kraft washi tape from Etsy.

Tools:  Paper trimmer, bone folder, scissors, Ranger Ink blending tool, stapler with staples.


I would like to enter into the following challenges:
  1. Daring Cardmakers - Get knotted
  2. The Pink Elephant - Back to school