Showing posts with label baby card. Show all posts

Sunday, 27 May 2012

Welcome baby! Boy or Girl?

I've been saving this post for a while.  I made these cards for my best friend's new baby, and since I made them before the baby's arrival I didn't know whether to make pink or blue.  The solution?  Make both!


 I started with a base of cream Gina K 120# cardstock, and since this would be a baby card I decided I wanted to keep everything light and fresh looking.  I decided to layer with some Stampin' Up! Very Vanilla that had been embossed in my Cuttlebug.  The creams from the two companies are a very close match.


Once I chose some pretty pink and blue satins, and some lovely Prima ribbons to coordinate I decided to stamp my image and sentiment with dark brown ink.  The little ducks were coloured with coordinating markers. The focal image and sentiment was punched with a square label shape and foam taped over the knotted ribbon.


At this point I figured the card was finished, but as I looked at it I felt it needed more.  I had just gotten a package of pearls with my latest Stampin' Up! order so I decided to use them here.  To mimic  bubbles I decided to use various sizes and place them as if they were floating over the card.  I love these pearls!


I kept things simple on the inside with just a simple sentiment and another duck image, this time not coloured in. 

I love how this turned out.  Wondering which one I gave to my friend?  Pink!  As per usual my prediction was wrong, but thats OK because the baby is beautiful!!  :)


I would like to enter these cards in the following challenges:
  1. Fussy and Fancy Friday - New Baby
  2. Creative Card Crew - Dimension
  3. Ladybug Crafts Ink - Something With Wings
  4. The Paper Shelter - Bling it On
  5. Moving Along with the Times - Celebrate with no birthdays.
  6. Charisma Cardz - No flowers allowed

I used the following supplies:

Cardstock:  Gina K Designs 120# Pure Luxury Pure Ivory, Stampin' Up Very Vanilla.

Stamps:  Stampin' Up! Petite Pairs, Year Round Fun II

Ink:  Stampin' Up! Chocolate Chip.

Markers:  Bic Mark Its Summer Melon, Pink Flamingo, Oceanview Blue.

Ribbon:  Prima Marketing (velvet grosgrain), satin ribbon from my stash.

Pearls:  Stampin' Up! Jewels Basic Pearls.

Adhesive:  Tombow Mono Multi Liquid Glue, foam squares, Glue Dots.

Tools:  Paper trimmer, bone folder, We R Memory Keepers Corner Chomper, Cuttlebug, Cuttlebug Moroccan Screen Embossing Folder.

Wednesday, 9 May 2012

Monkey Business... and a new hobby!

I have a new hobby, and its all thanks to Youtube.  A few months ago I found a very crafty blogger on Youtube called The Frugal Crafter.  She's amazing!  She is primarily a stamper, but covers a wide variety of topics, including the one that piqued my interest - stamp carving.


I've heard of this craft before, and I've even thought about doing it, but it wasn't until seeing this video that I decided I would go out and get the supplies. I love her idea of carving a stamp before buying it, because many times I might get a whole stamp set just for one stamp.  I made my first few attempts a few days ago and came up with this leaf stamp that I really like:


I had started by carving some less simple designs, but they didn't quite turn out how I wanted them, so I decided to try something a bit easier for a beginner like me.  The leaves were a great shape to carve and I like how the stamp turned out, so I decided to use it to make a background for my next card.


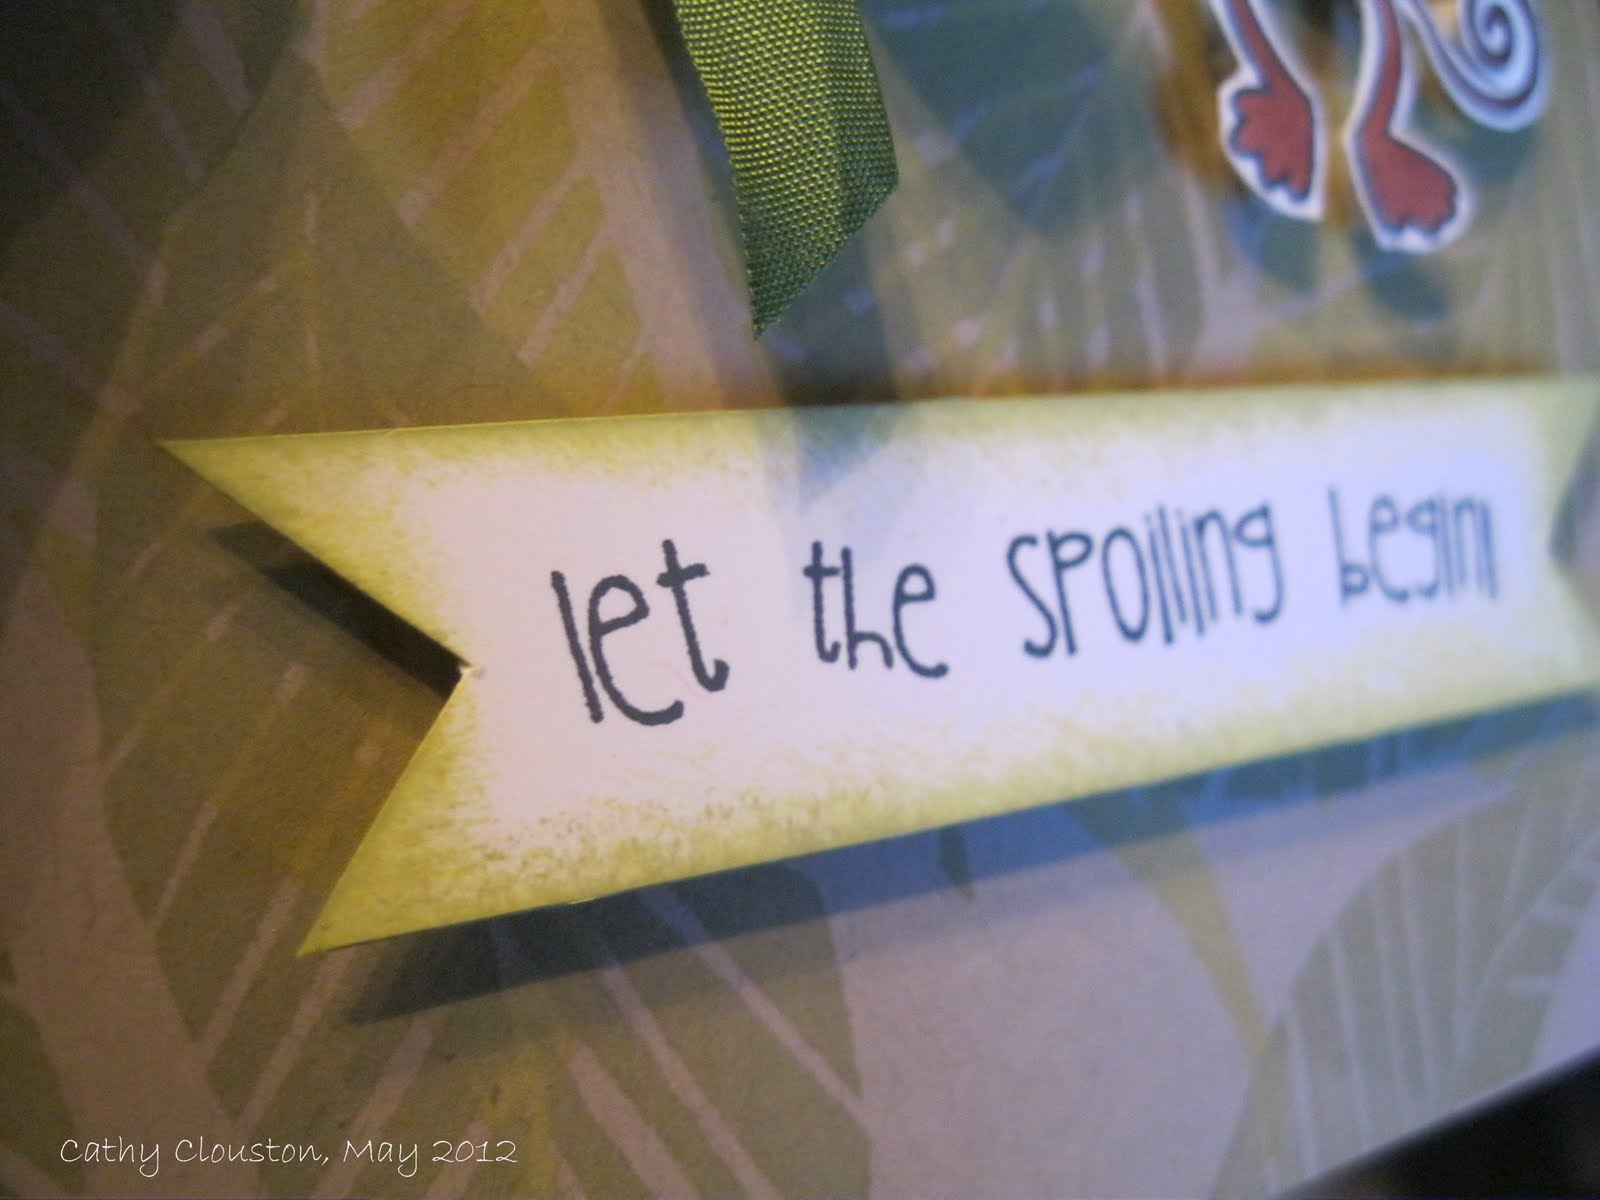
I used two shades of green to stamp the leaves on kraft cardstock.  I stamped the entire sheet so the pattern is on the front and back.  I added some green seam binding, and since the leaves reminded me of banana leaves I thought this monkey stamp would work perfectly.  Once stamped and coloured on white cardstock I cut out the image and adhered it with foam squares.

The sentiment was stamped on a strip of white, and trimmed with banner points on each end.  I sponged it with both shades of green ink. Adhered with more foam tape.


This was a pretty quick and simple card, but I love the effect of the background.  I think this would be a great card for a new baby or a baby shower., or even a kid birthday card.  I definitely see more hand carved stamps in my future!

I will enter this card into the following challenges:
  1. Catered Crop - B is for Bodacious (baby)
  2. Creative Craft Challenges - Anything Goes
  3. Crafty Card Makers - For the boys.
  4. Papertake Weekly - Cute, cute, cute.
  5. Everybody Art - Baby

I used the following supplies:

Cardstock:  Stampin' Up! Crumb Cake.  Gina K Pure Luxury 120# Pure White.

Stamps:  Unity Stamp & Bella Blvd Itty Bitty Let the Spoiling Begin.  Hand carved leaves.

Stamp Carving Supplies:  Speedball Speedy-Cut,  Speedball linoleum cutter set.

Ink: Memento Tuxedo Black, Color Box Fluid Chalk Ink Lime Pastel, Olive Pastel.

Markers:  Bic Mark Its Honey Brown, Tiki Hut Tan.

Ribbon: Ribbon Carousel Moss Green Vintage Seam Binding.

Adhesive:  Tombow Mono Permanent Adhesive Runner, Glue Dots, foam squares.

Other tools:  Paper trimmer, scissors, sponge.


Monday, 7 November 2011

Precious Baby in Pink, Cream, and Brown


 I look at card challenge blogs every so often, usually if I am in need of some inspiration.  I have never participated because I didn't have a blog to link to.  I know you can often email entries, but I didn't ever seem to get around to it.  This time however, when I went to the Crafty Cardmakers blog, and saw that they gave a challenge of using pink, brown, and cream as a colour combination, I knew I had the perfect card to enter!

I started out with a piece of 8.5"x11" cardstock that I cut lengthwise so I had a piece measuring 4.25"x11".  I scored the fold lines at 3.5" and 9" to make a gate fold card.  I chose some lovely embossed cardstock from American Crafts in pink and cream.  I cut two pieces of the pink measuring 3.75"x4" and 1.75"x4", and two slightly smaller cream pieces measuring 3.5"x3.75" and 1.5"x3.75.  I traced a scallop template on the backs of the two larger pieces of cardstock, taking care that the scallops would line up when I put them together, and cut them out.  

I stamped the sentiment and image on the larger cream piece of cardstock and I adhered it to the corresponding piece of pink cardstock.  I tied a piece of pink ribbon in a knot with a piece of brown ribbon and I adhered that to the left of my stamped image.  I then attached the small piece of cream to the small piece of pink.

Before adhering these to the card front, I used Zots to attach more brown ribbon to the card itself. One piece went on the edge of the left flap, and the other piece went on the fold edge of the right flap.  Since the scallop edge will overlap the right flap, attaching the ribbon on the fold side of the right flap will allow the  two ribbons to be tied together.

 I added the coloured cardstock to the card front, and added some jewels to the stroller and the sentiment, and then I used some pink chalk to add a bit of shadow to the words and the wheels of the stroller.  Once a nice bow tied the card closed I was done!

My cards are usually a bit more decorated than this but I thought it was cute enough that it didn't need much more.  I was happy with the end result and my friend who received it appreciated the gesture. :)

Below are the supplies I used: 

Card stock:  Stampin Up! Crumb Cake, American Crafts embossed specialty cardstock in pink and cream.

Ink:  Stampin Up! Chocolate Chip, Pebbles Classic Chalk pencils in peony.

Stamps: KI Memories Little One Icons set

Template:  Kiwi Lane Designs Mini Scallops.

Embellishments: Stampin Up!  Basic Jewels Rhinestones

Ribbon:  Offray Ribbon in Light Pink, Offray Spool O' Ribbon (brown eyelet)

Adhesive:  Zots, Tombow Mono Permanent adhesive runner.