Monday, 15 April 2013

MFP April Sneak Peak

Hi everyone!  Its been a while and its almost time for another Mark's Finest Papers blog hop.  That means that its time to show you the extra set and mini set for the month.

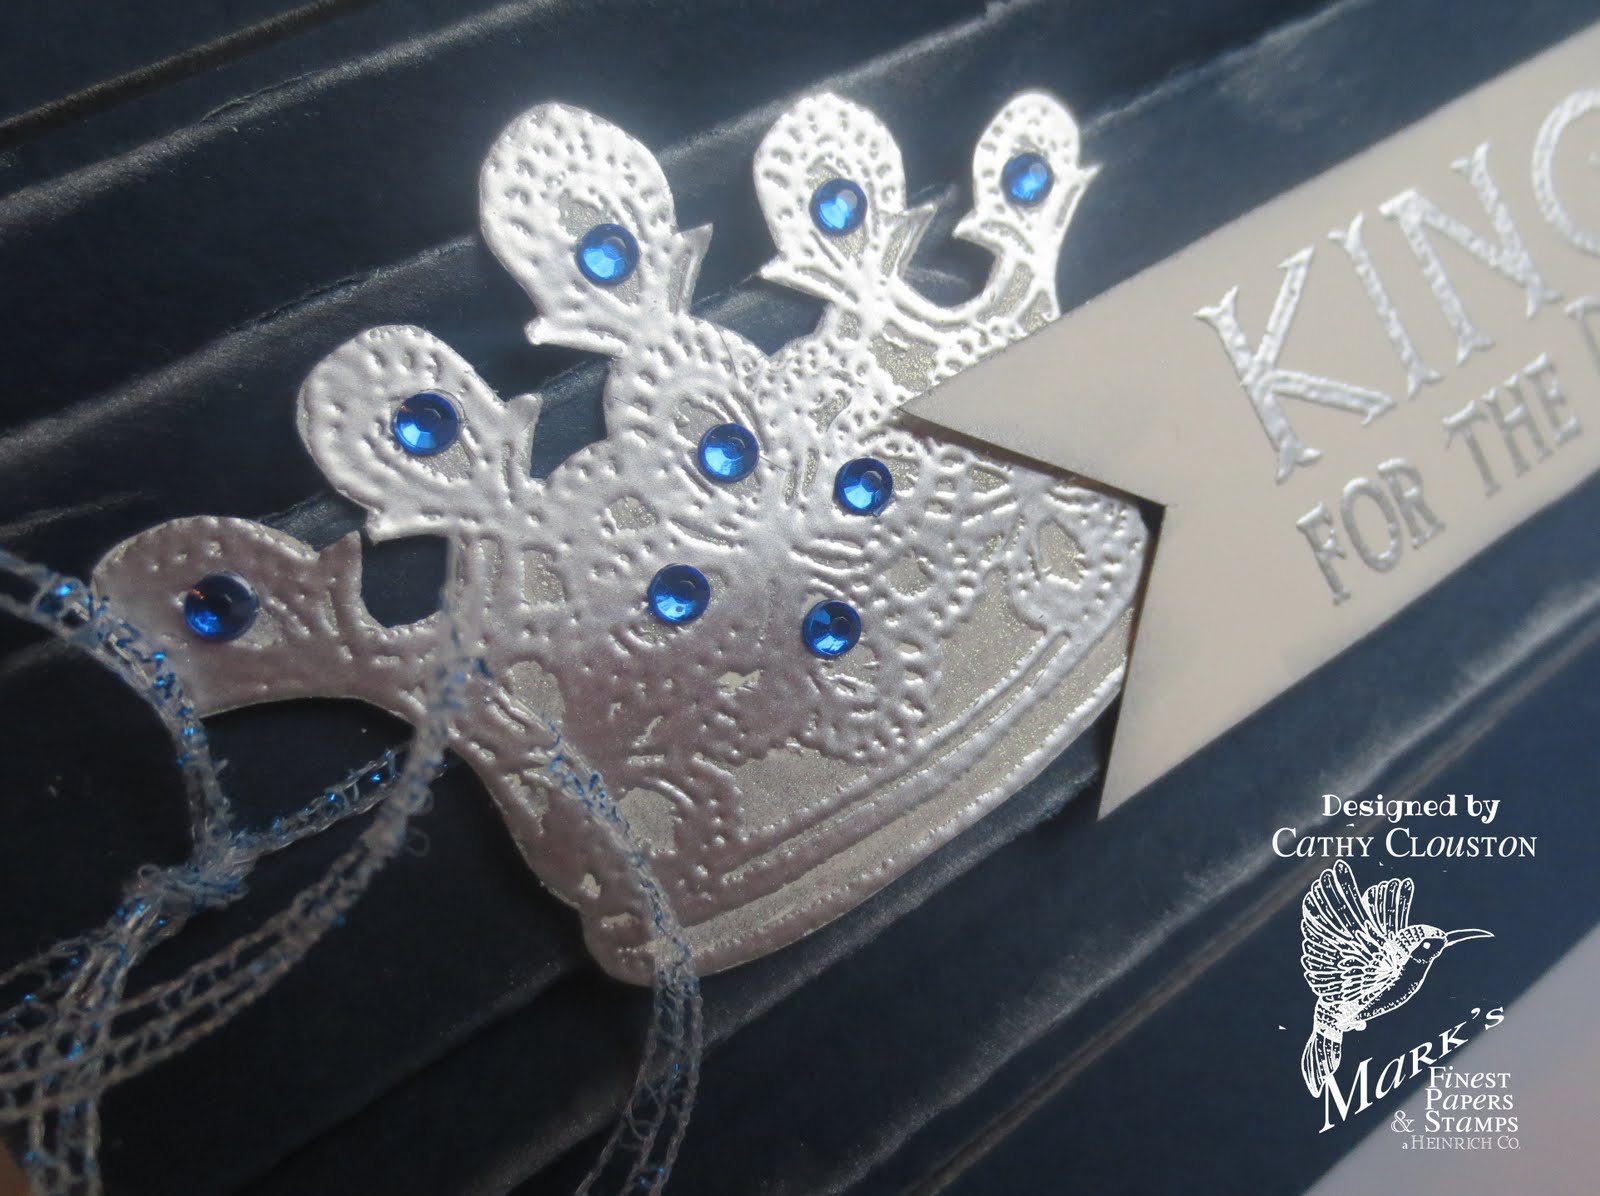
First I'll show you the mini set called "You May Bow".


This month I decided that for each set I would make each card a similar layout with different colours and patterns.  That way you can see how versatile the stamps are.  Here is what I came up with for the first set:


Fun eh?  I love the crown and can think of so many different uses for it.

The second set is soooo cute, called "Zoo Friends".


I absolutely love this set.  My little guy has years of birthday parties ahead of him and I can see using this set frequently.  Here is what I came up with today:


But this set isn't just for birthday cards:


This elephant is my favourite. :)

There are a lot more great sets in store for you this week so don't forget to come back tomorrow! :)


Tuesday, 2 April 2013

Today's Mark's Finest Papers Featured Desiginer!

Hi everyone!  Today I have the honour to be a featured designer on the Mark's Finest Papers blog for a third time!


I'm quite excited and this time I thought I'd share a fun technique for making your own faux metal embellishments.  Click here to find my tutorial.

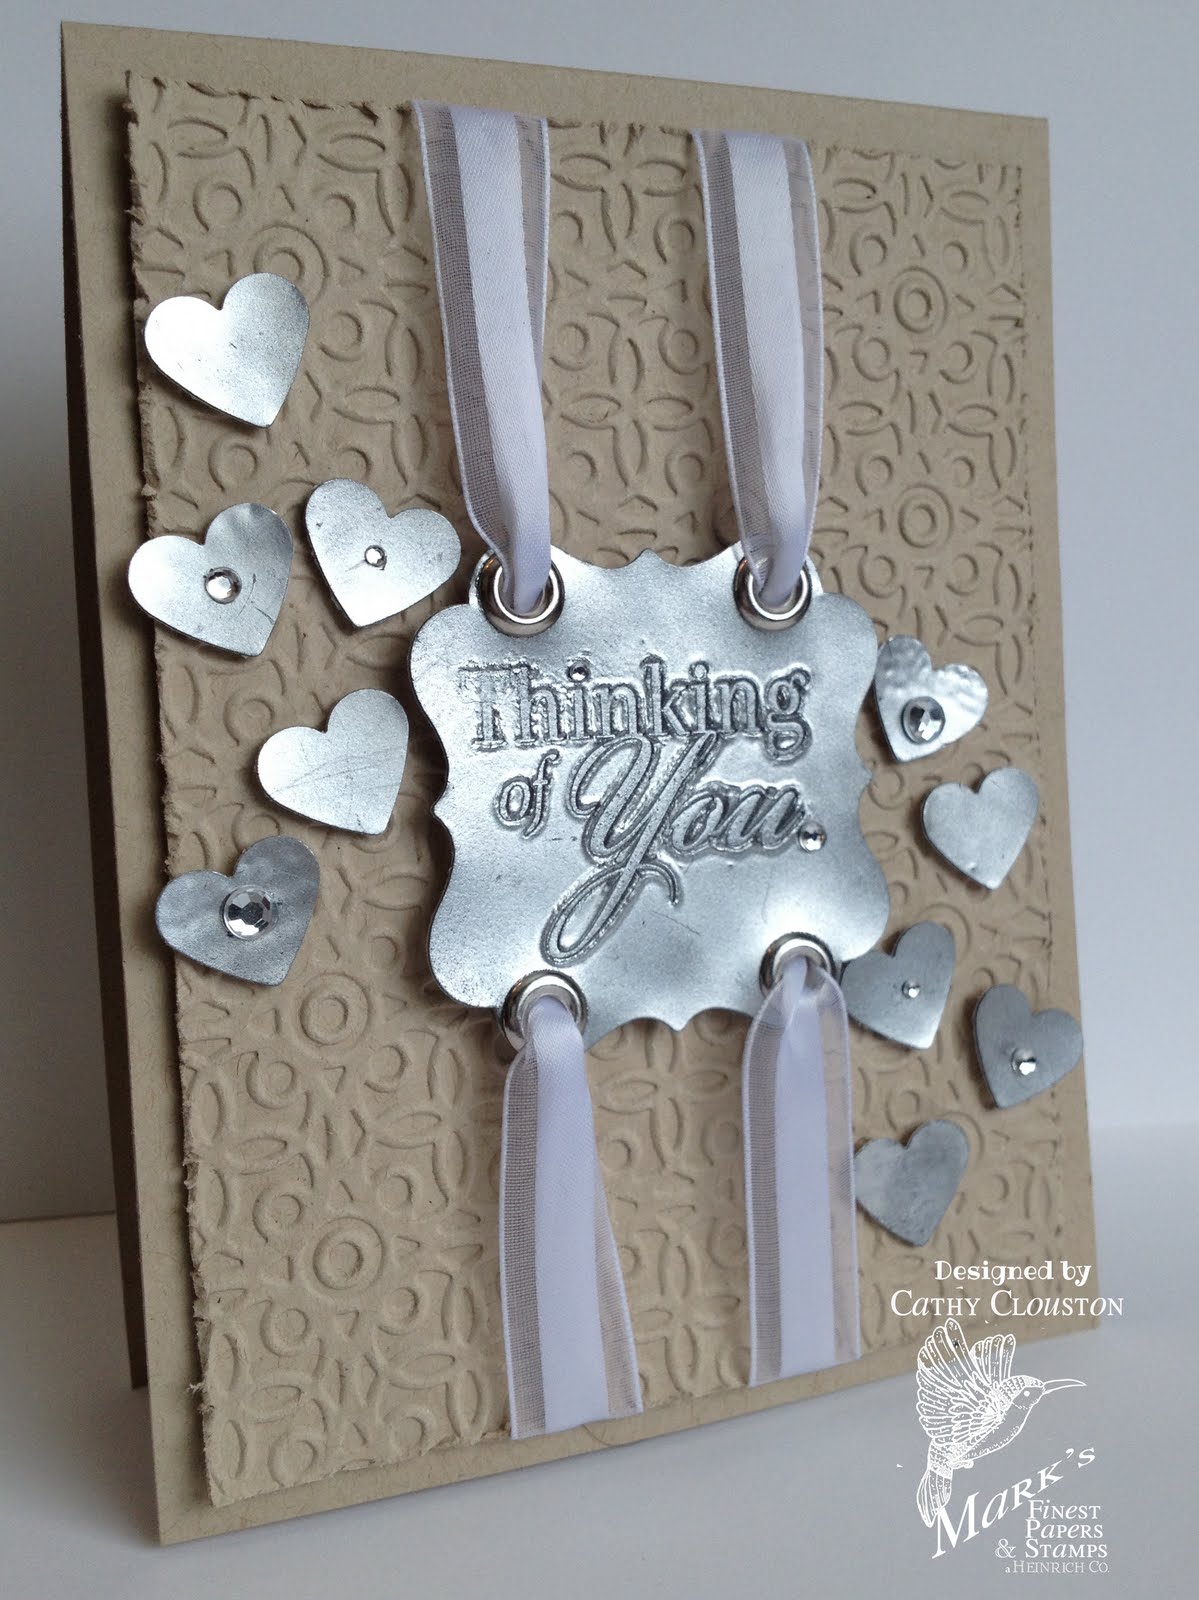
In the meantime, here is the card I made using this technique:


Fun, eh?  I originally picked this technique up from Kristina Werner, but I find it so versatile that I thought it was worth sharing in my own way.  One thing that Kristina had said in the original video was to not use clear stamps.  I actually found that clear stamps worked quite well, if not better, than using rubber stamps.  It is definitely a fun technique to play with!


Supplies used for this card:

Stamps:  Mark's Finest Papers Seed Packets

Card Stock:  Neenah

Ink:  Versamark Watermark Ink

Embossing Powder - Recollections Fine Detail silver

Embossing Folder:  Cuttlebug Paperlace II set

Embellishments:  Ribbon from stash, Recollections gemstones.

Tools:  Paper trimmer, bone folder, scissors, heat tool, Recollections heart punch, Ek Success flourish punch, We R Memory Keepers Crop A Dile, heat tool, Cuttlebug.

Faux Metallic Embellishments - a tutorial!


As card makers we all know it’s fun to make your own embellishments, and these faux metallic ones are no exception.  I must admit I did not come up with this on my own, I originally saw Kristina Werner use this technique, but it is a useful one you can easily tailor to your favourite style of card making. You can use any of your favourite stamps with this technique, although the best ones should be a clear image without too much detail as this will allow you to get a good impression in your ‘metal’.  Read on to see what I mean!

 Materials needed:


  • ·   Scrap paper (it doesn’t matter what the scrap looks like as you won’t see it when you are done)
  • ·   Embossing powder – any shade you like will work.  I’m using silver here.
  • ·   Heat tool.
  • ·   Coffee filter or scrap paper – to catch the excess embossing powder.  I find coffee filters work better than scraps, and then I can use my scraps for something else.
  • ·    Versamark or any embossing ink.
  • ·    Stamps and stamp block.  I'm using Mark's Finest Papers Seed Packets.
  • ·    A punch or die to cut out your image.


Step #1 – Press your embossing ink pad directly to your scrap of card stock you plan to use.  Make sure you cover an area large enough to accommodate your stamp.


Step #2 – Pour your embossing powder over the inked spot and tap off the excess.


Step #3 – Melt the powder with your heat tool.


Step #4 – Once the spot cools a bit, add more embossing ink and powder and melt again.


Step #5 – Repeat step #4 two more times until you have four layers of melted embossing powder.  The surface will look more and more mirror-like with each layer.


Step #6 – Mount your stamp on the acrylic block and press it into your embossing ink pad.  Make sure the stamp is well coated, as this protects it from the hot embossing powder.  Also make sure you complete this step before starting on step #7. This is really important.


Step  #7 – One more time coat the spot with embossing ink and embossing powder, then heat.  Quickly press your stamp firmly into the hot embossing powder until it cools.  You must do this very quickly as embossing powder cools really fast.


Fun, eh?  The reveal is my favourite part. 


Step #8 – Since we are now done with the embossing powder it’s a good idea to pour it back to the container to avoid a mess (ask me how I know).  Coffee filters make this really easy.


Step #9 – Punch or die cut your image once it is nice and cool.  When using a punch I like to flip it over to ensure the placement of the image on the shape.


You are done! 


Want to see my finished card?  Click here to see today's post.  Enjoy! :)

Friday, 22 March 2013

MFP Blog Hop Day #4 - Seed Packets

March Blog Hop! 

This month's New Stamp Set Releases are

 Featured March 19 - Garden Bunny
Featured March 20 - Spring Things
 Featured March 21 - Glad Glads
 Featured March 22 - Seed Packets

Please hop along with us! You have a chance to win one of the above stamp sets! Just comment on the following blogs (don't forget this one), each day for more chances to win! (You do NOT have to comment on all the blogs each day! The names are drawn randomly!) All four winners will be announced on March 23,2013 on the Mark's Finest Papers blog. You can go back and comment if you missed a day. (HINT: The more you comment, the more chances you have to win and comments on the MFP blog count twice!) The deadline for commenting is 11PM EST on Friday March 22,2013.


 The special stamp set we have for you this month is:
"News From The Woods"


 The mini stamp set we have for you this month is
"Corn Ears"


Today's set, called Seed Packets, is the perfect compliment to day #1's set Garden Bunny.


I continued with the vegetables theme and did some more water colouring.


I thought the green card stock was the perfect colour for the images, and distressing the edges of the panels was a good way to look rustic without looking too messy

For my second card I had the idea to make a card that was really simple.  I love the tomato image so this is what I came up with:


I think it would be fun to make a card set with all of the vegetables which I would have done but by the end of my card making sessions I was running out of time.  Even so I love this tomato.  I think I got the perfect shade and the Glossy Accents came out perfectly.

I hope you enjoyed viewing my cards as much as I enjoyed making them.  The rest of the DT had a great time with the stamps this month so don't forget to continue hopping and see what wonderful things they've done.  And you should also visit the Mark's Finest Papers store.  There you will find a lot more beautiful stamp sets and some wonderful crafty products!  :)


Supplies used for today's cards:


Card #1 -

Stamps:  Mark's Finest Papers Seed Packets

Card Stock:  Stampin' Up!

Ink:  Versafine Onyx Black

Embossing Powder:  Ranger Clear

Markers:  Stampin' Up!

Embellishments:  May Arts twine, Recollections rhinestones

Tools:  Paper trimmer, bone folder, scissors, Tonic paper distresser, Cuttlebug, Cuttlebug Embossing Folder Paperlace II, waterbrush.


Card #2:

Stamps:  Mark's Finest Papers Seed Packets

Card Stock:  Neenah

Ink:  Memento Tuxedo Black, Versafine Onyx Black

Embossing Powder:  Ranger Clear

Markers:  Bic Mark Its, Copics

Embellishments:  Ranger Glossy Accents, Recollections rhinestones.

Tools:  Paper trimmer, bone folder, scissors

Thursday, 21 March 2013

MFP Blog Hop Day #3 - Glad Glads

March Blog Hop! 

This month's New Stamp Set Releases are

 Featured March 19 - Garden Bunny
Featured March 20 - Spring Things
 Featured March 21 - Glad Glads
 Featured March 22 - Seed Packets

Please hop along with us! You have a chance to win one of the above stamp sets! Just comment on the following blogs (don't forget this one), each day for more chances to win! (You do NOT have to comment on all the blogs each day! The names are drawn randomly!) All four winners will be announced on March 23,2013 on the Mark's Finest Papers blog. You can go back and comment if you missed a day. (HINT: The more you comment, the more chances you have to win and comments on the MFP blog count twice!) The deadline for commenting is 11PM EST on Friday March 22,2013.


 The special stamp set we have for you this month is:
"News From The Woods"


 The mini stamp set we have for you this month is
"Corn Ears"

 
Well after the snow storm that we had here yesterday it definitely does not look like spring, so this stamp set, called Glad Glads,  is a good reminder of what spring might look like eventually, lol.  :)


Pretty, eh?  Of course my favourite image is the larger flower and I decided to water colour it.


I heat embossed the image before colouring and I find it gives it a nice detail.  Keeping all of the papers monotone helps make the image pop.

For my second card I decided to use my other favourite technique, cracked glass.


 For this card I used a lot of white pen to highlight and embellish.  Under the cracked glass embossing I find the white gel pen gives depth to the image.

I hope you enjoyed viewing my cards as much as I enjoyed making them.  The rest of the DT had a great time with the stamps this month so don't forget to continue hopping and see what wonderful things they've done.  And you should also visit the Mark's Finest Papers store.  There you will find a lot more beautiful stamp sets and some wonderful crafty products!  :)


Supplies used for today's cards:


Card #1 -

Stamps:  Mark's Finest Papers Glad Glads

Card Stock:  Neenah, Fancy Pants

Ink:  Versafine Onyx Black

Embossing Powder:  Ranger Clear

Markers:  Stampin' Up!

Embellishments:  May Arts seam binding, Recollections gemstones

Tools:  Paper trimmer, bone folder scissors, water brush, heat tool.


Card #2 -

Stamps:  Marks Finest Papers Glad Glads

Card Stock:  Neenah

Ink:  Colorbox Fluid Chalk Ink Chestnut Roan, Versamark Watermark Ink

Embossing Powder:  Ranger Ultra Thick Embossing Enamel

Embellishments:  Sakura Gelly Roll white, May Arts twine, Recollections gemstones

Tools:  Paper trimmer, bone folder, scissors, Cuttlebug, Cuttlebug embossing folder Baby's Breath, heat tool.